Personal setups » Just something I stitched together
Well, after upgrading all my older backpacking gear over the winter, I dropped about 8 lbs of trail weight. I planned on doing a fair amount of lightweight backpacking this year, in addition to my nomadic car camping, trail riding ventures, but oh how things change. As the new gear rack started coming together, I really started thinking about bikepacking and how I could make it all work. Here is what I came up with.

Bikepacking Setup - Enterprise, UT
My Stumpjumper FSR has a very restrictive front triangle and I couldn’t see waiting months for a seat bag and custom frame bag. So, I decided I’d put my noggin and limited sewing abilities to the test to come up with a seat and frame bag setup to compliment my new Osprey Talon 33. I had the vision, and you can see it wasn’t pretty. But, in the three trips and 200 miles I’ve done with them so far, they’ve been dragged through the bush, performed superbly and aren’t showing any signs of wear.
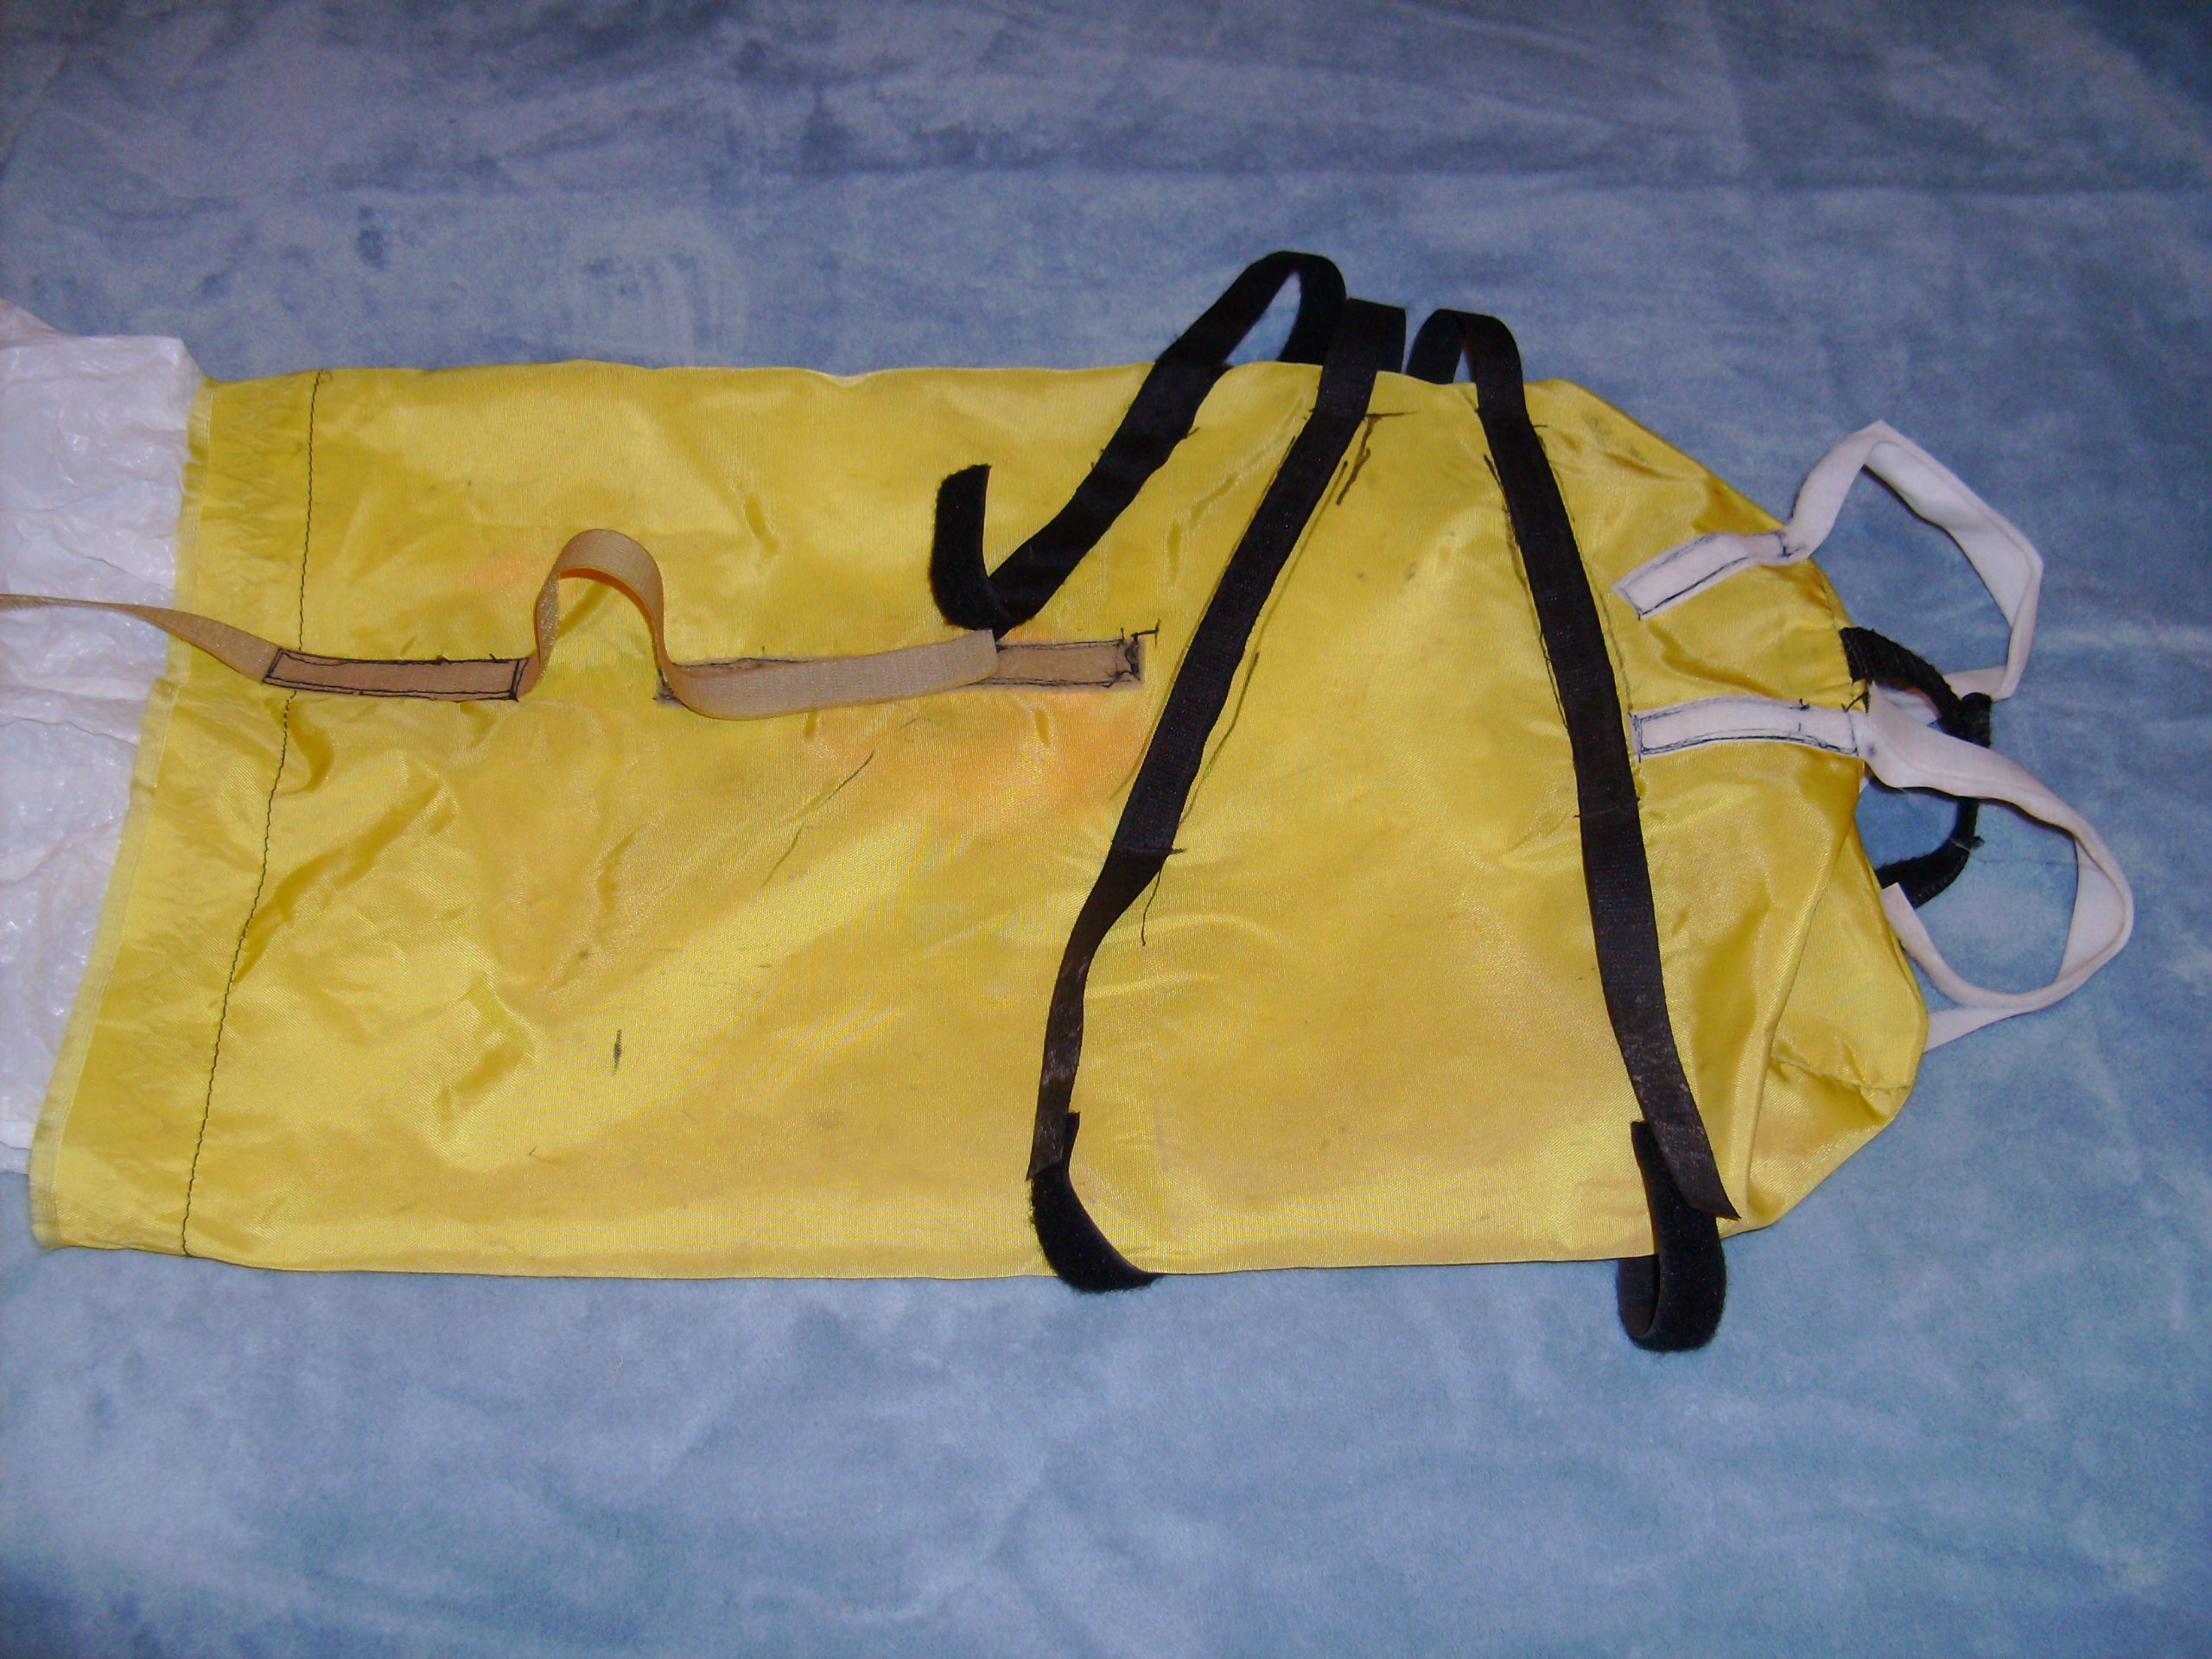
The seat bag is made from a 20+ year old, 8 x 18 stuff sack that was available for sacrafice and a lot of spare Velcro. (Thank you Red Green for helping me see in Velcro what you saw in Duck Tape!) To get the placement of all the straps, I simply put some filler in the stuff sack, formed it into place, creating the angled front to the bag, and made plenty of alignment marks with a Sharpie. I have three attachment points on both the post and rails. The front two rail straps (6″ length sewn on each side of the bag) also allow for compression on the bottom of the bag. In addition, there is one compression strap on the back end of the bag. Although I haven’t had any problems, I do want to put a vertical compression strap on the back too – just for peace of mind.
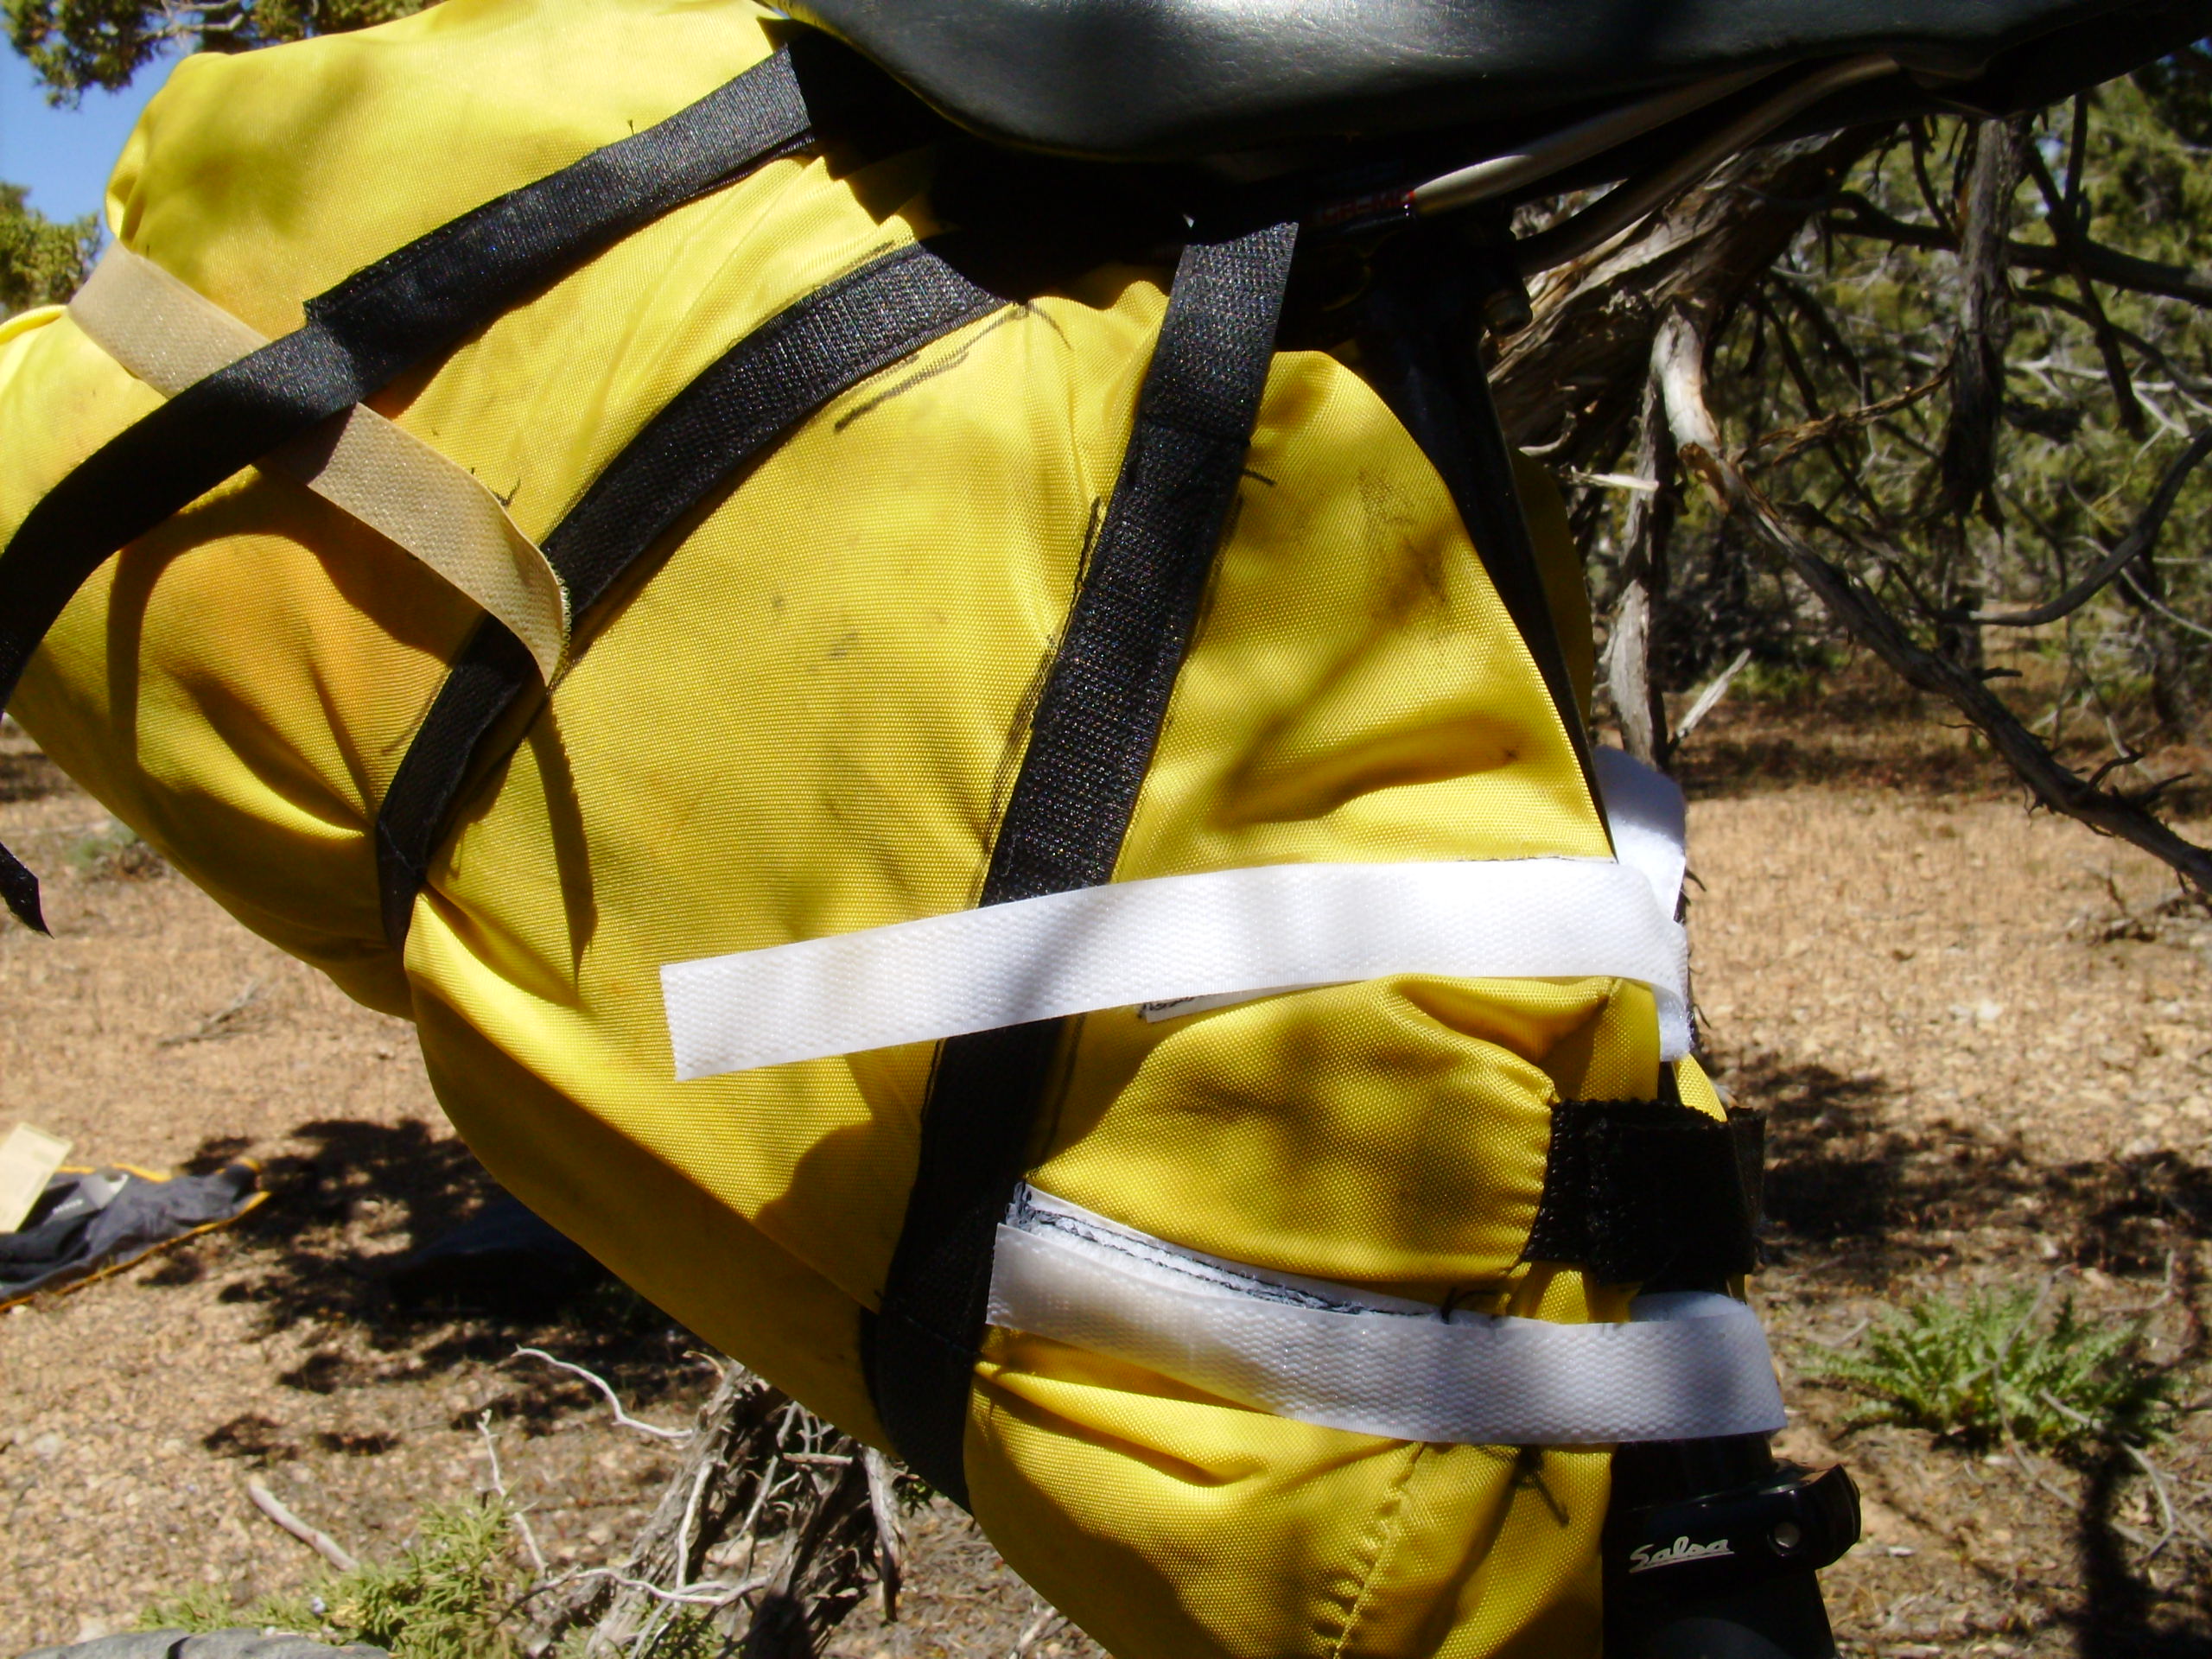
The sewing on this was a comical adventure. Broken threads, knotted knots of stitching, serpantine stitching… Not to mention the fun doing all this work on an already completed bag. The stitching is well reinforced, but this thing is a Frankenpack.
I made a bit of a mistake in how I did the two front seat rail straps. They work, but are a little bit difficult to tighten down. I’ll have that corrected before my trek this weekend. Just making a splice with a couple pieces of velcro and some duck tape, which will allow these straps to be tightened down much like the rear strap, which is a fully removable velcro strip of hooks. The splices will still be holding strong after the bag turns to dust.
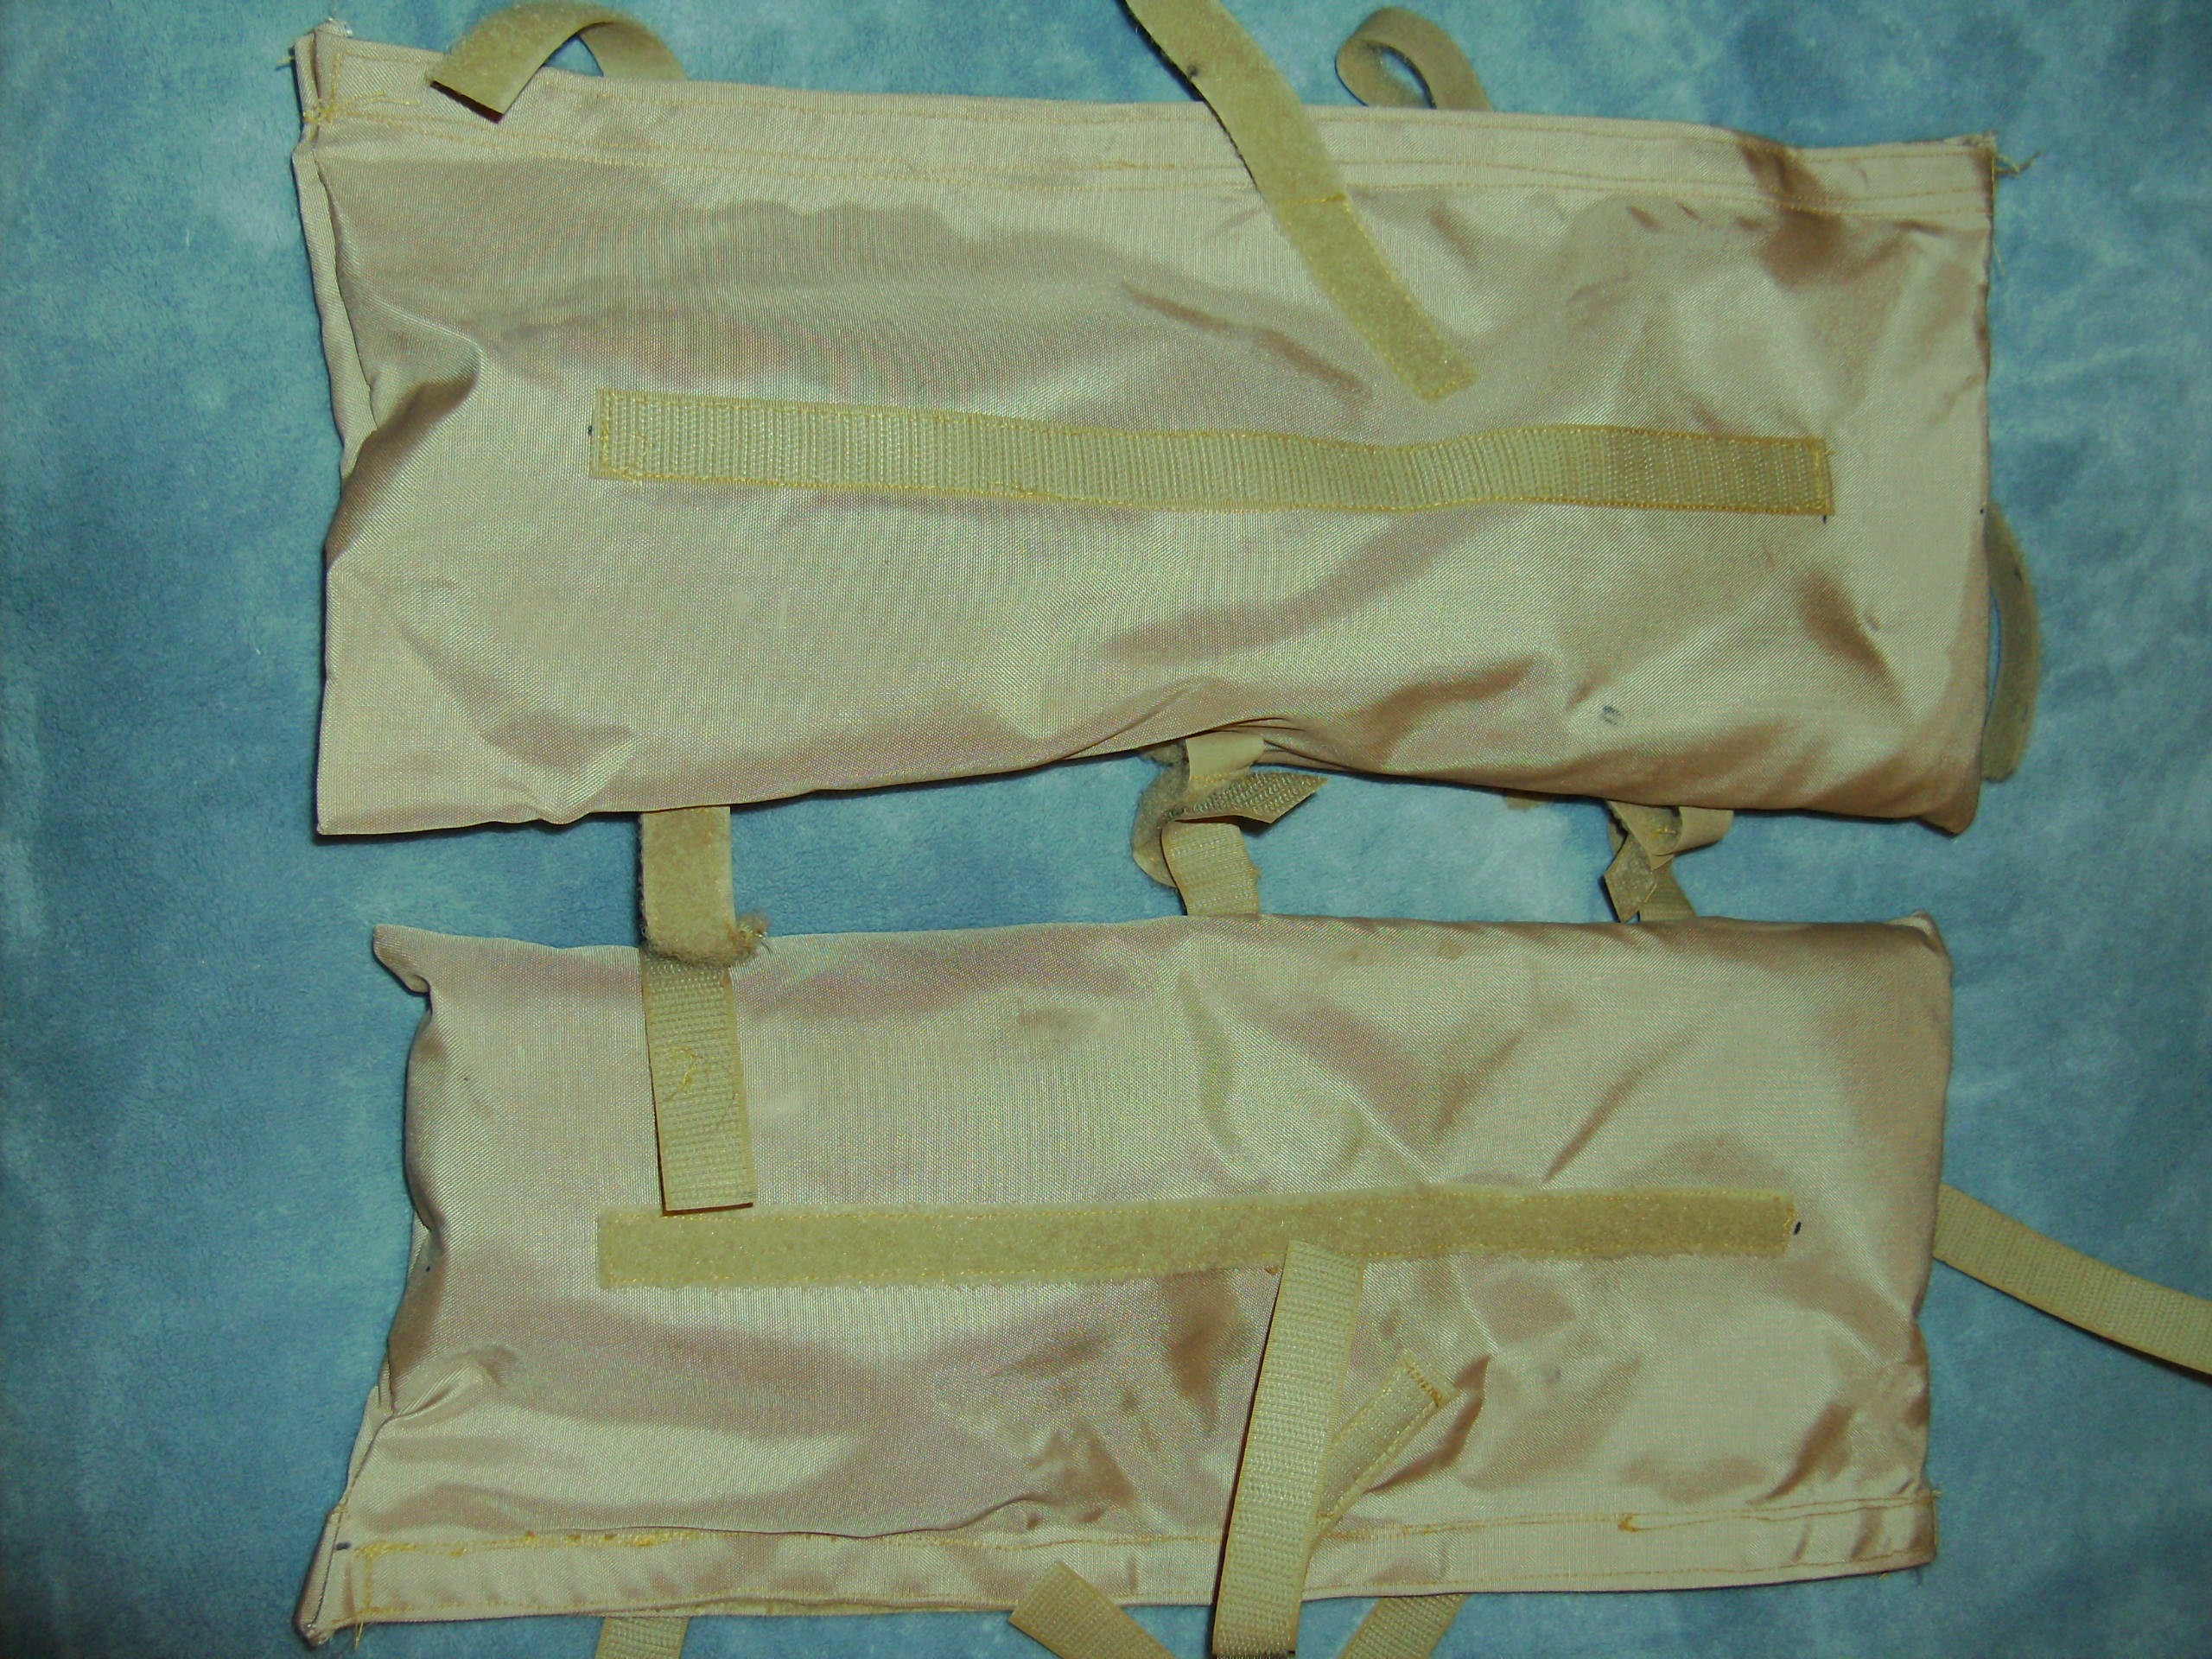
For the frame bags, I originally wanted to make a single, wide bag to fill in the entire front triangle space and be capable of carrying 96 oz of water. After making the bag template, I realized this wouldn’t be enough space for much at all, and certainly not for the 2 48oz water bladders I’d be using. So, I came up with this dual-bag setup.
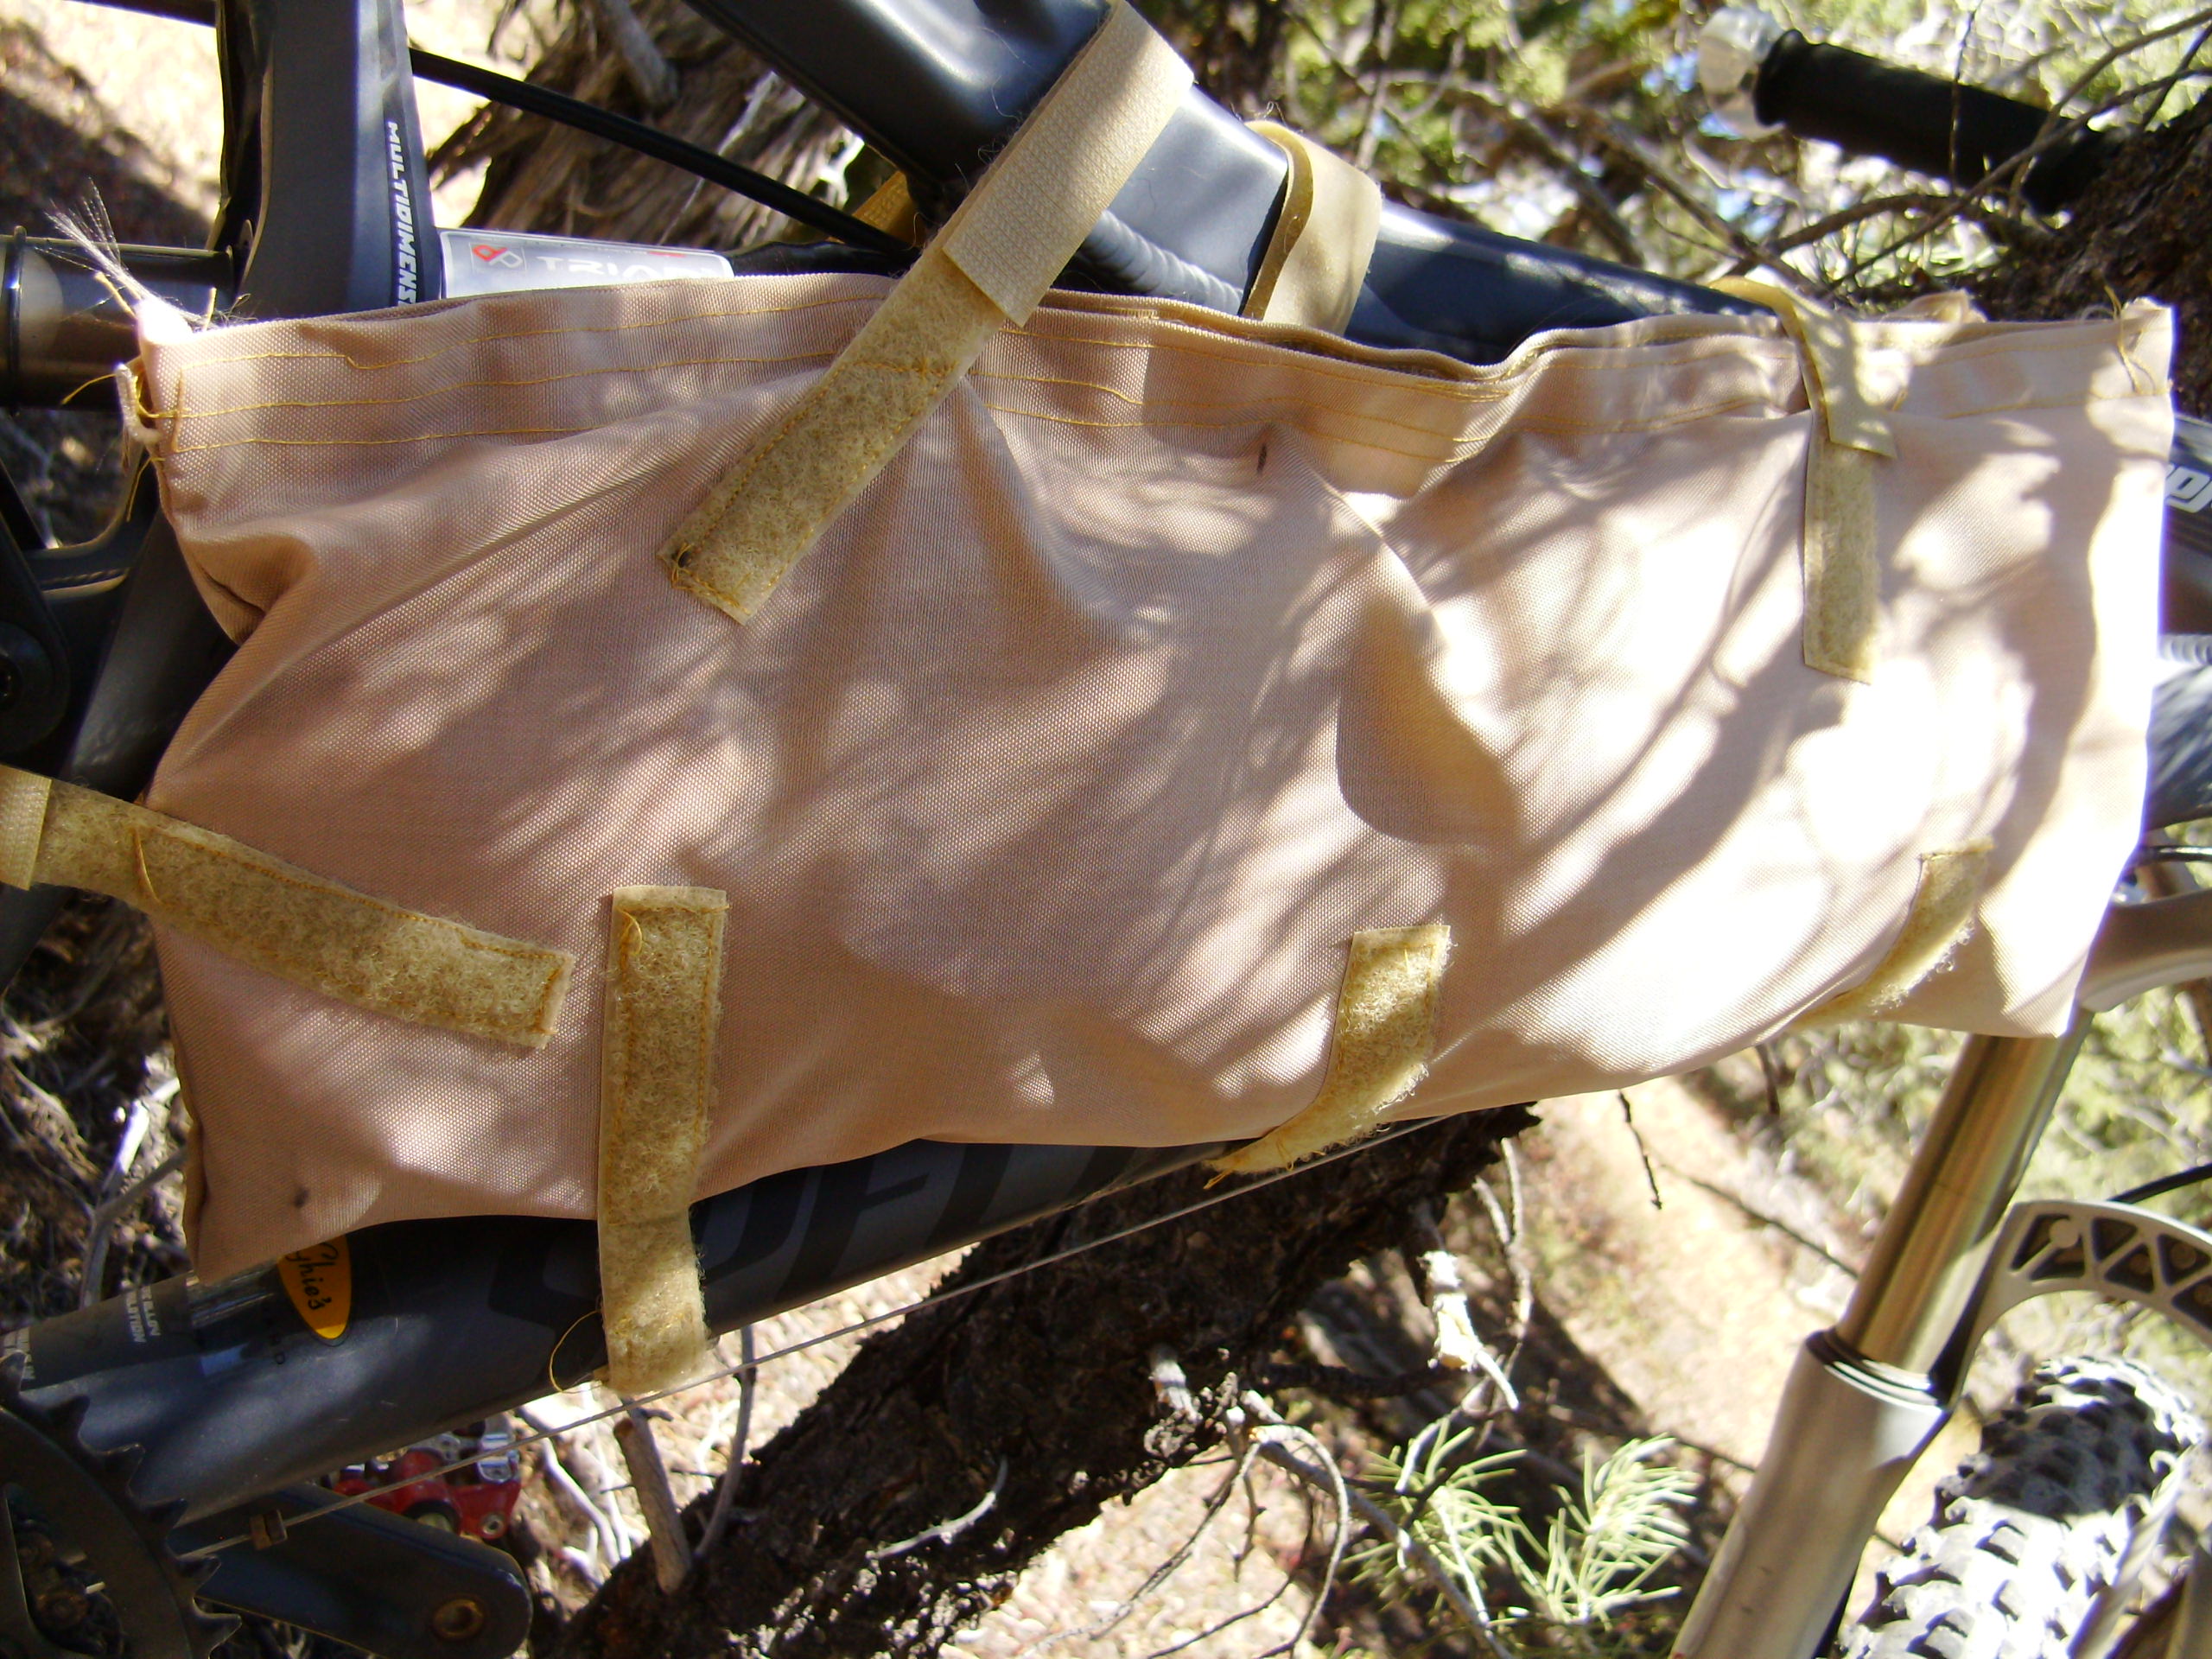
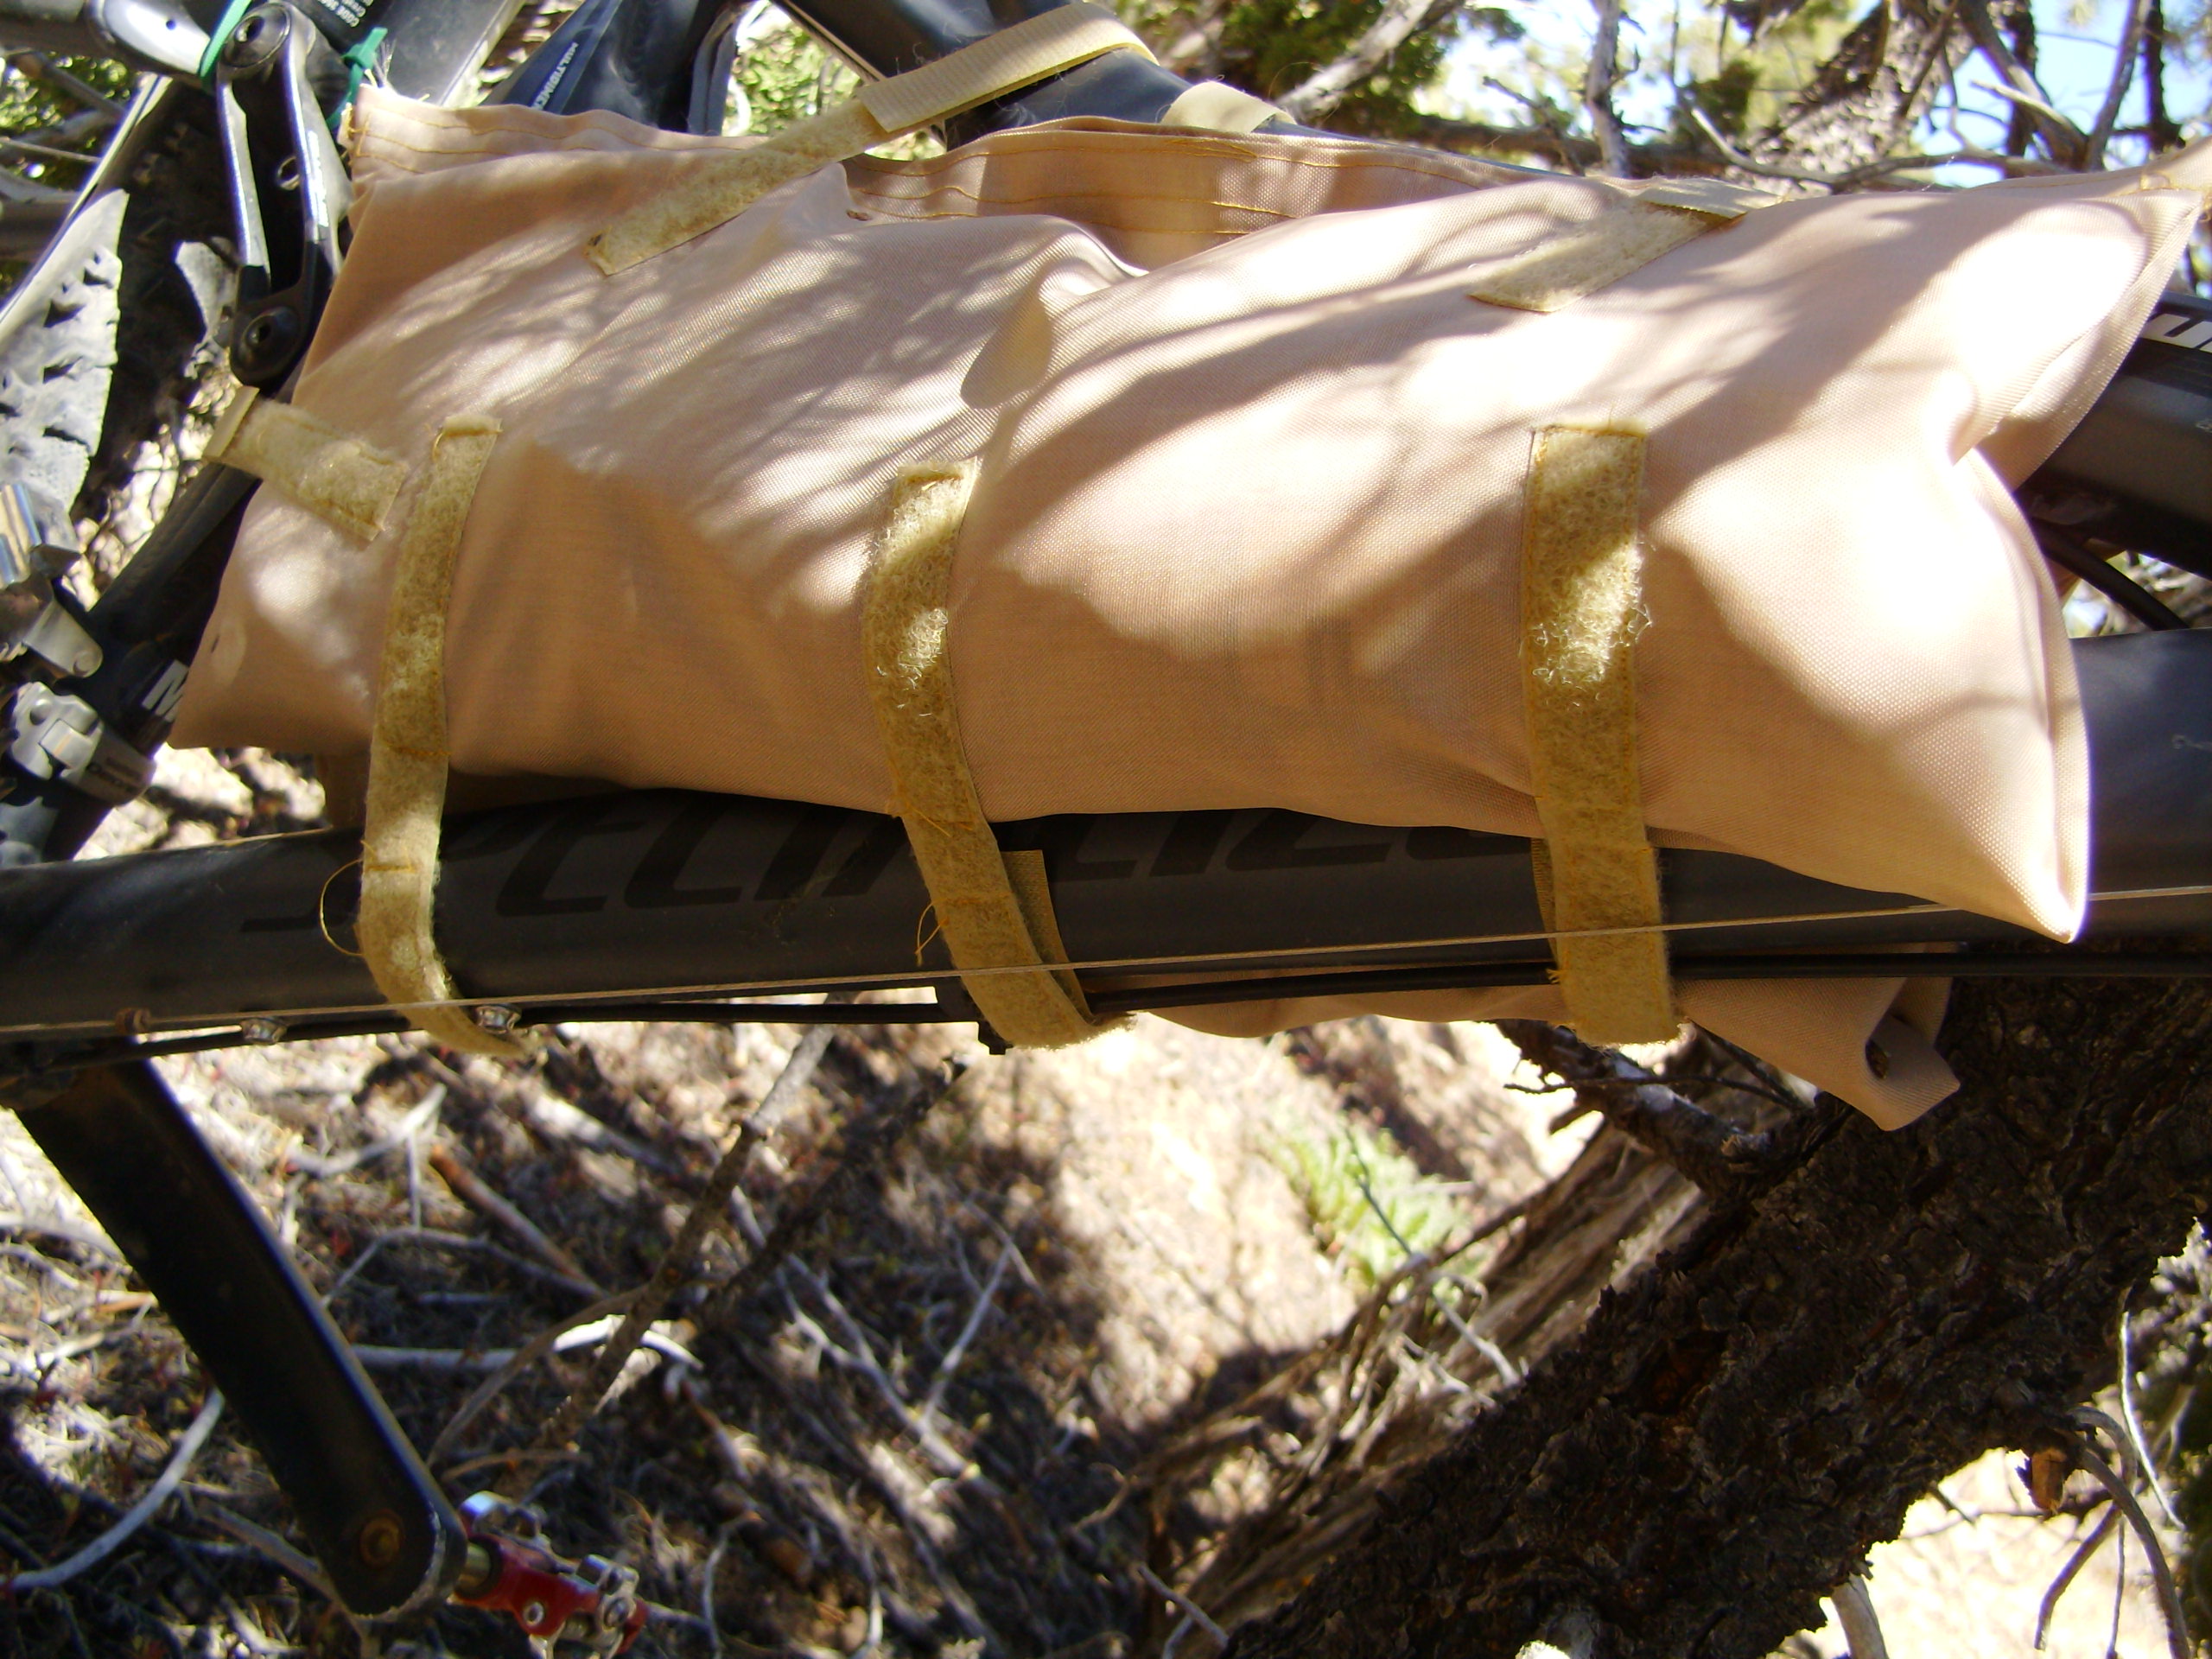
The key features that make this work as well as it does are the velcro strips across the back of each bag that let them be connected together, helping stabilize the bags, and the middle top attachment point, which allows the bags to be opened and accessed without the bags sliding or falling down.
The Osprey Talon 33 is a great ‘little’ top loading pack. At 1800ci for the Small/Medium version, it’s around 600ci more than a Talon 22, but the brunt of the size difference is in the top compartment; you get a bit more than 200ci extra space in the main compartment. The pack really is bigger than what I need, even on the 3-day trips, but I just fold up the air pad into a big block and have it standing against the outside of the pack. That uses up extra space, provides padding and protection for everything else and helps stabilize the load. I don’t experience the pack interference with my helmet like some have mentioned (on the Talon 22 review page), but the pack isn’t getting loaded full up either. It would definitely be a different situation if were loaded for a weekend of backpacking.
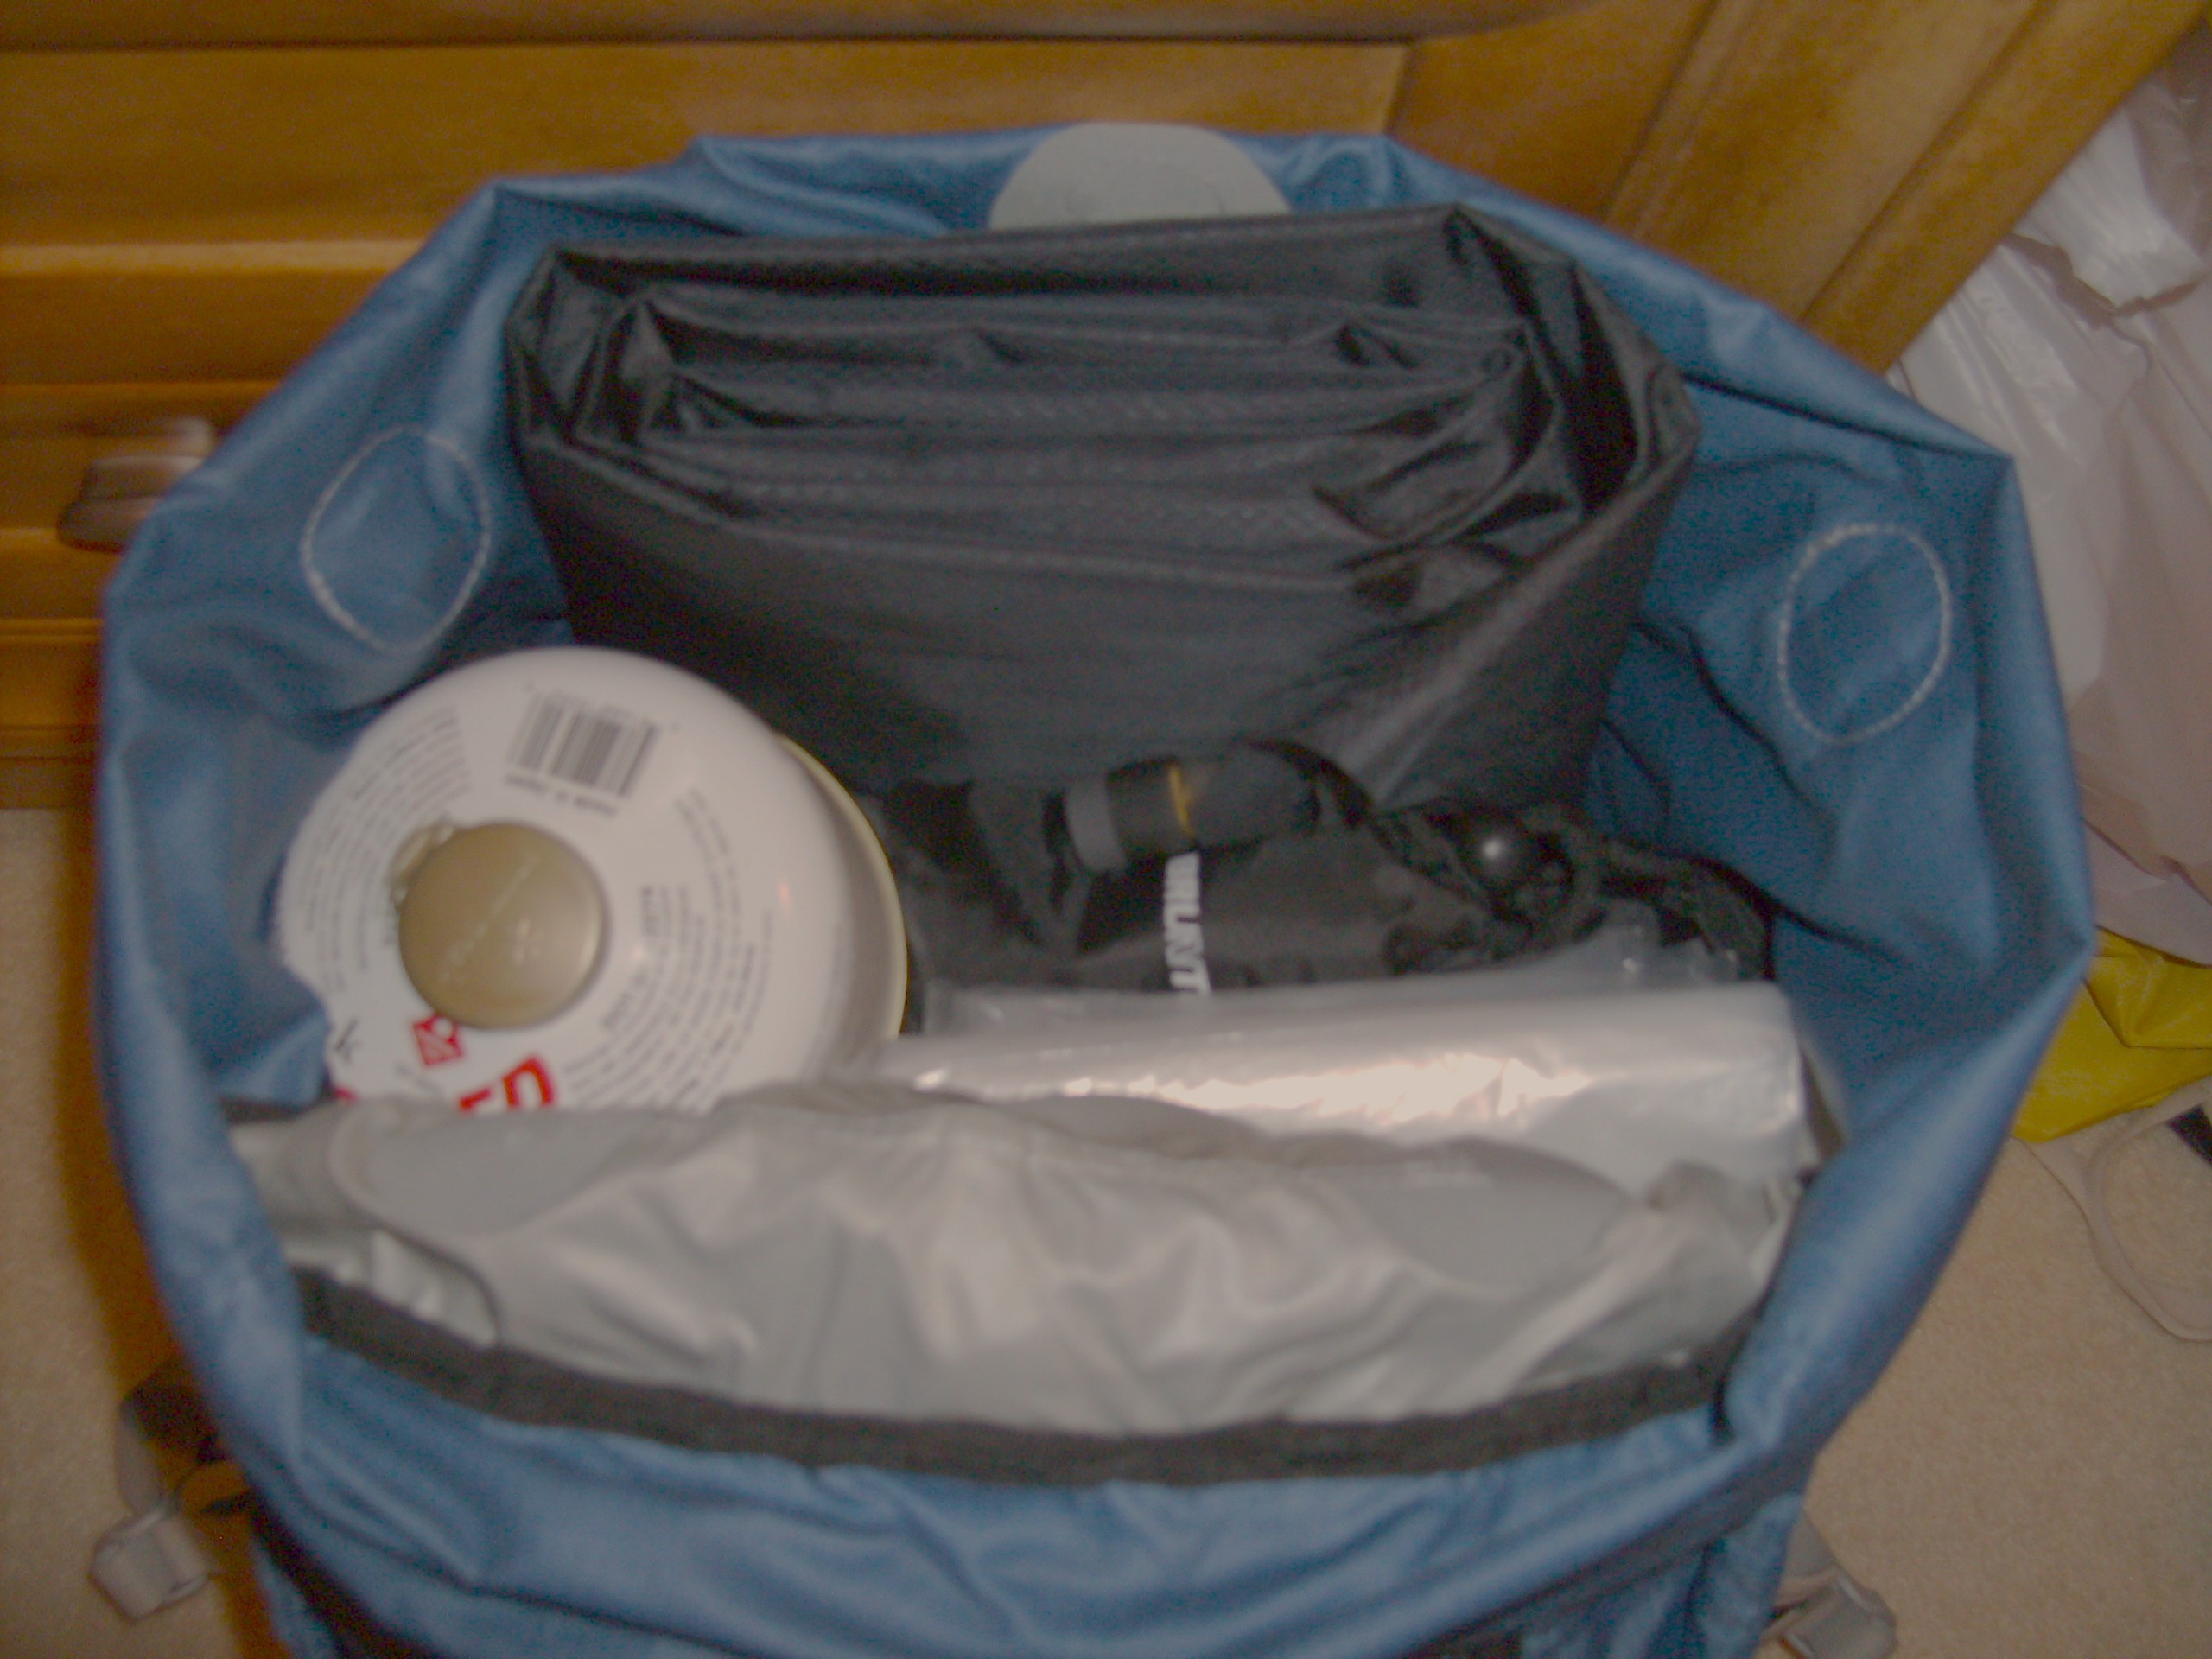
At home, off the trail - just to show the packing concept
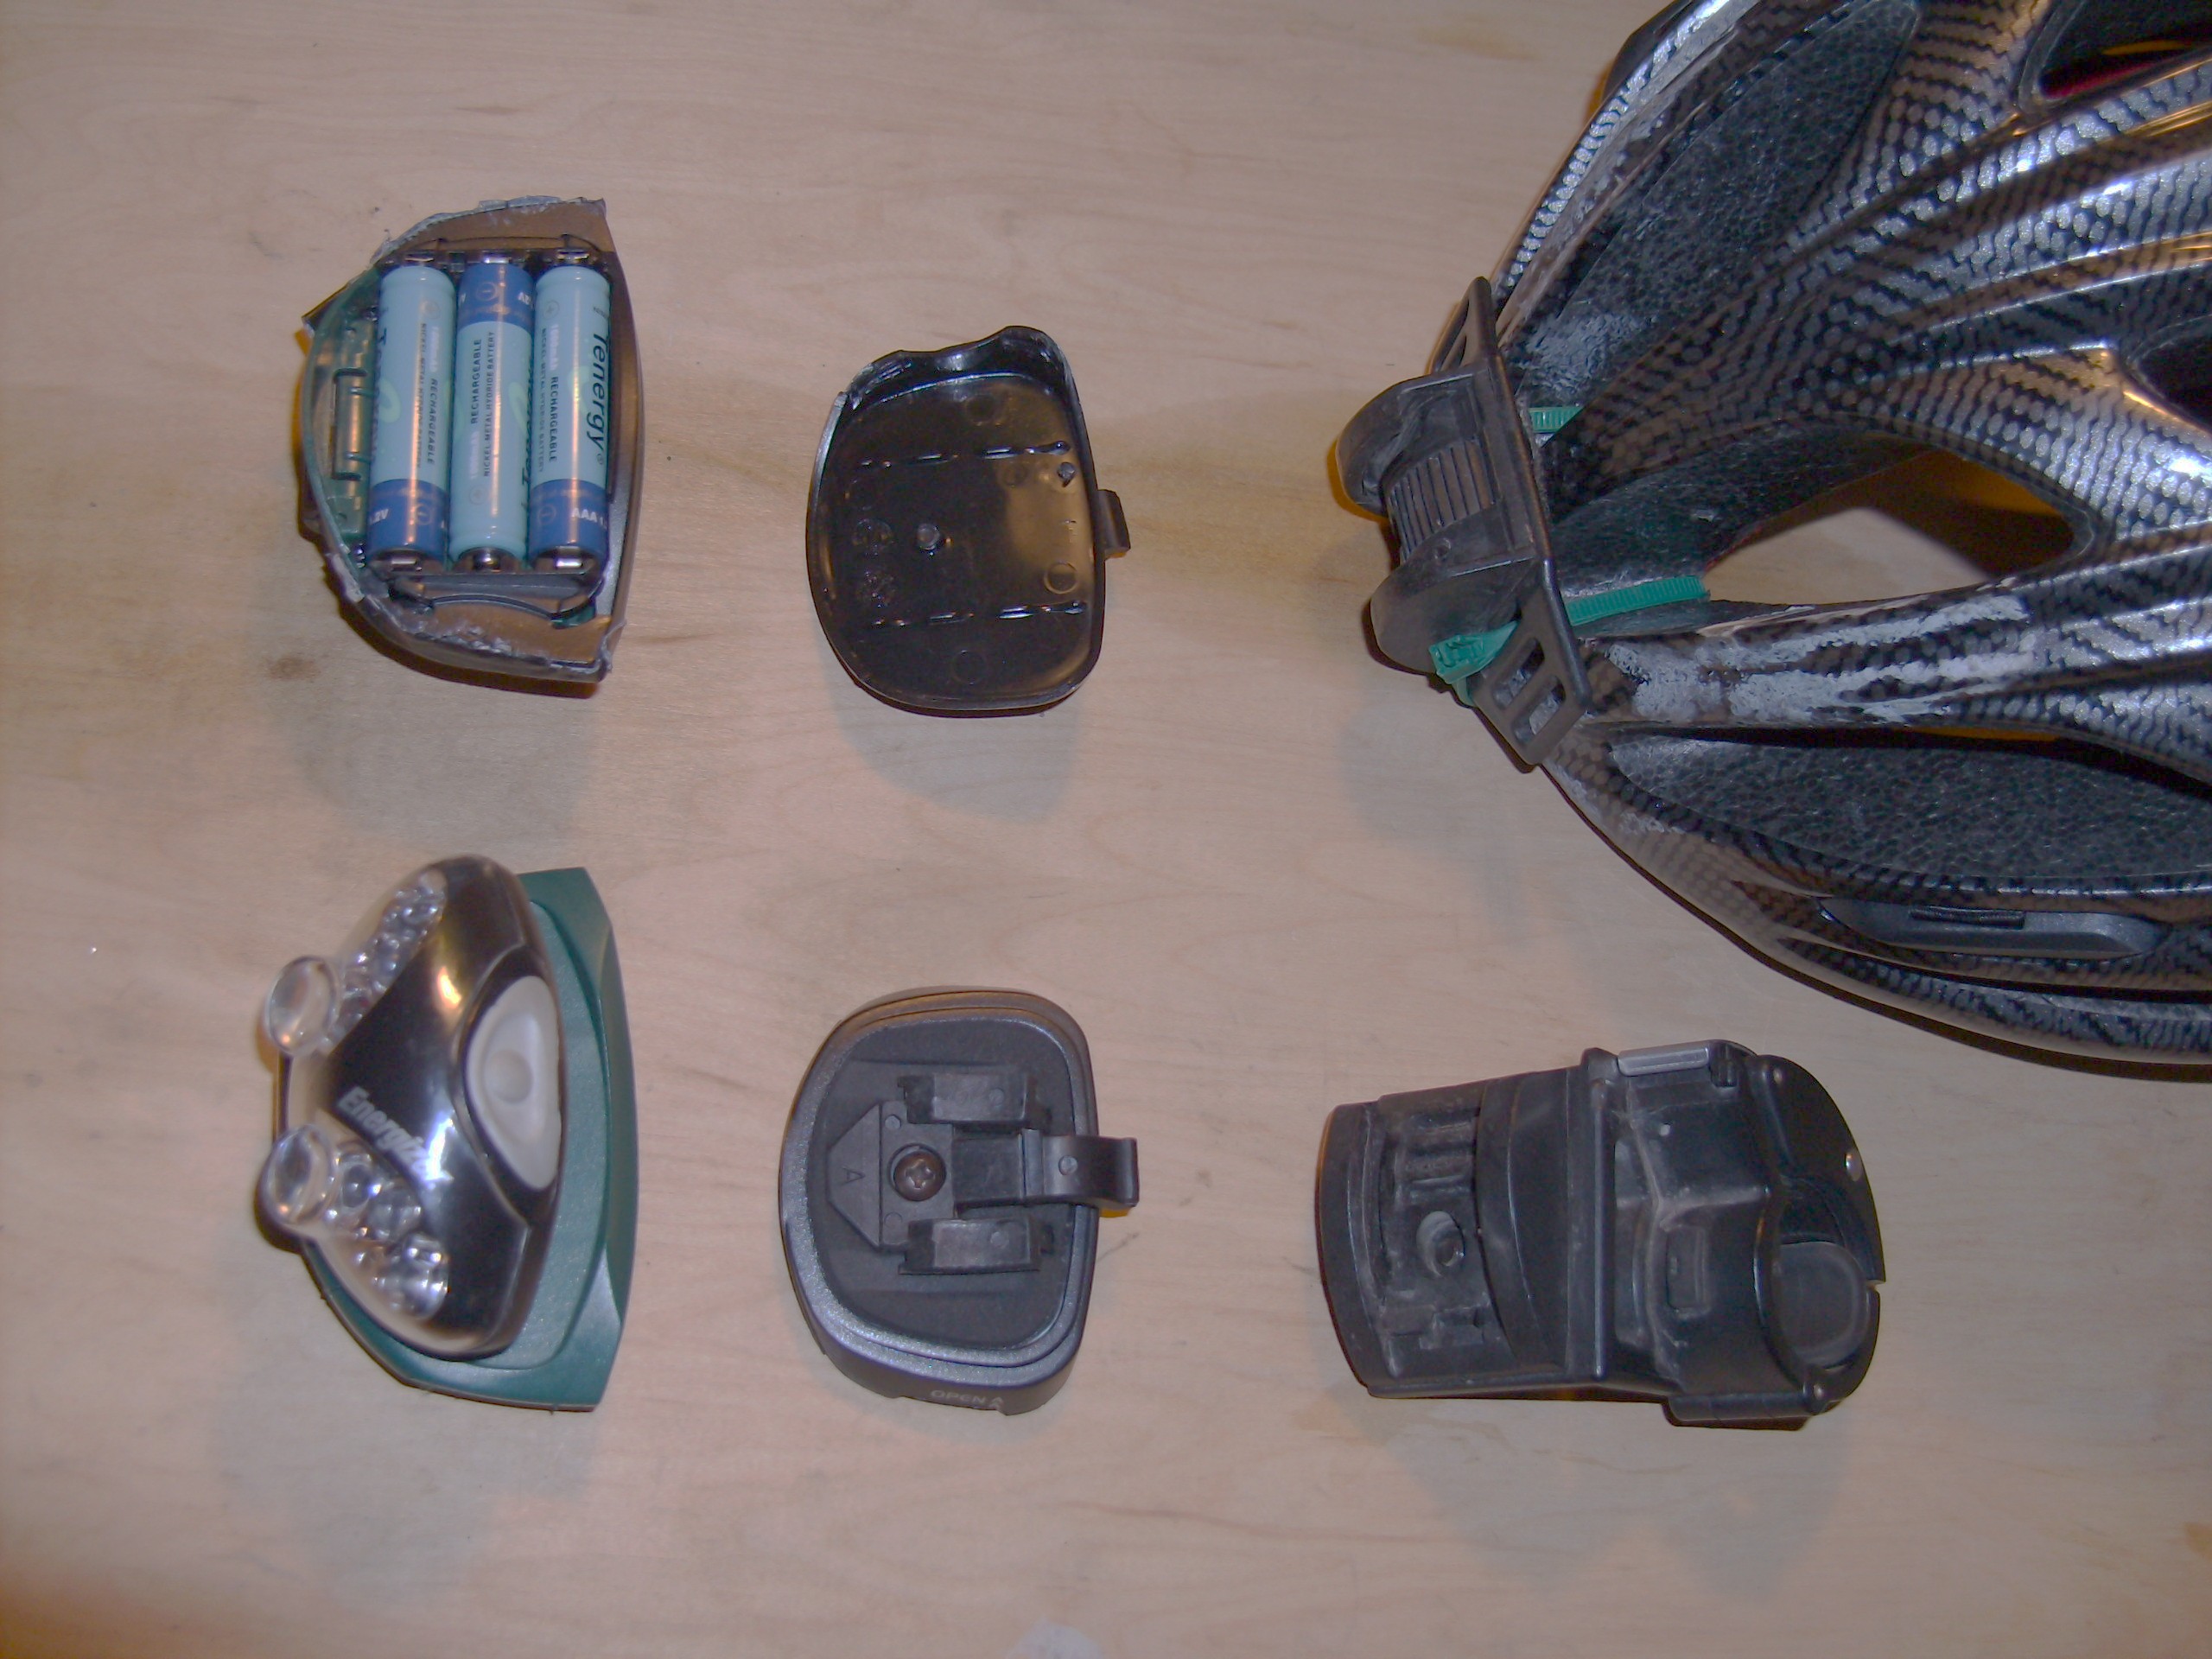
One last piece to the setup that I haven’t used…yet. I have a couple Energizer LED headlamps that I modded to work with my old Nightrider halogen light mounts, both bar and helmet. The lamp assemblies have a pivot point, which is nice. But, I do keep a couple pieces of duck tape on the bar light to keep it from moving from excessive vibration. I’ve been using these for the last year for my normal night road training rides. They’ve only been on the trail a couple times, but gave me everything I needed. One night ride at Campbell Mesa in Flagstaff and a dark 1st descent of Smith Ravine Trail (near 1000′ singletrack descent using only the helmet light) at the end of my own Prescott Monstercross.
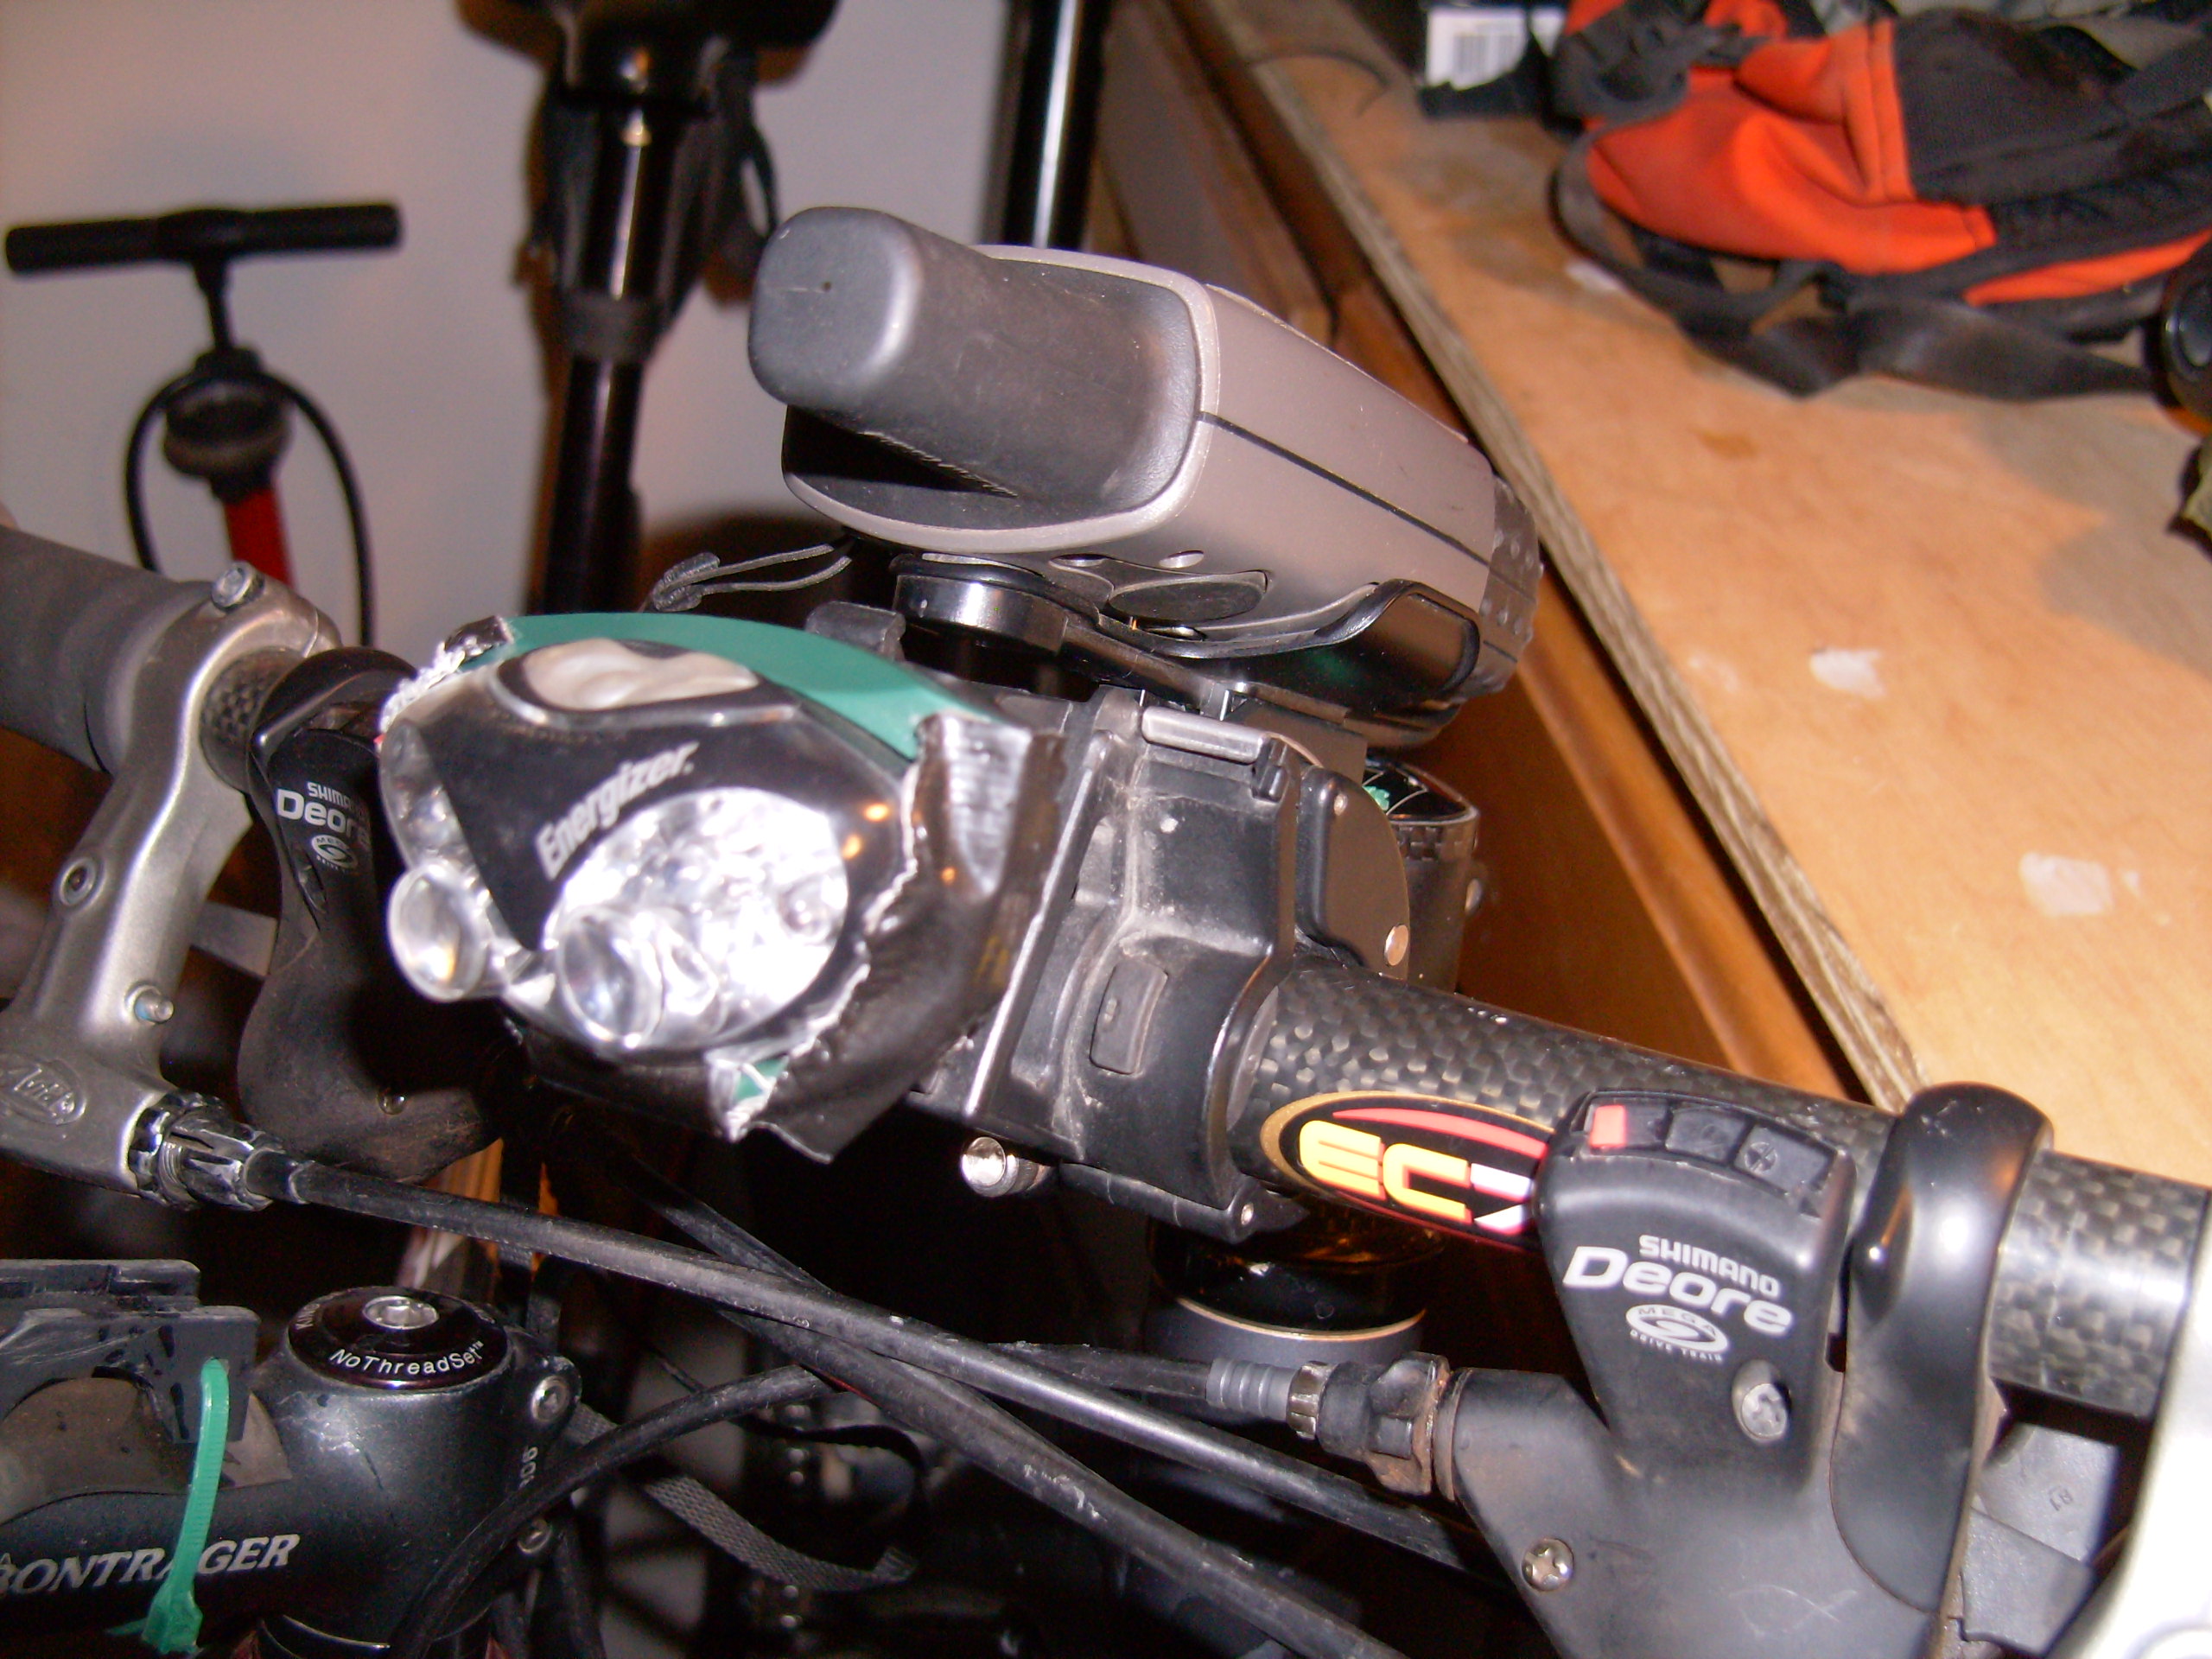
Bar-mounted light and stem-mounted GPS work well together
So, here is the setup I’ve been using:
On the bike – 2006 Specialized Stumpjumper FSR 120:
- – Garmin GPSmap 60CSx with stem mount
- – Sigma Sport wireless bike computer
Homemade Seat Bag:
- – Kitchen trash bag to keep everything in and dry, just in case
- – REI Flash Kilo 40+ down sleeping bag
- – REI Minimalist bivy
- – Marmot PowerStretch tights
- – Mountain Hardware PowerStretch top
- – Big Agnes Seedhouse2 Fast Fly Floor (finally cut some plastic though and shaved off 6.5 oz!)
- – 2nd riding kit (jersey, shorts and socks) if on a 3 day trip
Frame Bags:
– If needing to carry water, 48 oz Nalgene Cantene in each bag (96 oz total).
Otherwise, in one bag:
- – Tool bag (levers, patches, spoke wrench, leatherman, chain tool with pins and links, multitool)
- – Air pump
- – Zip-loc with chain brush, zip-ties and small bottle of Tri Flow
- – Fresh/used riding shorts
- – Fresh/used riding socks
In the other bag:
- – 2 tubes
- – Fresh/used riding jersey
- – Duck Tape strips
Osprey Talon 33:
In the main compartment:
- – Camelbak bladder with 64 – 72 oz fluid
- – Big Agnes Insulated Air Core Regular (72″) Mummy sleeping pad
- – Evernew titanium 750 ml tall cooking pot and lid
- – Brunton Talon stove
- – 8 oz / 220 ml IsoPro fuel canister
- – Katadyn Hiker water filter
- – Insulated coffee mug
- – Energizer 2 white / 1 red LED headlamp
- – Marmot PowerStretch gloves
- – Outdoor Research Novo Watch Cap
- – 1 pair camp socks / footies
- – 1 pair sleeping socks
- – 1 pair underwear
Typical food per day (1 lb 8 oz per day):
- – 2 snack cakes for breakfast
- – 1 packet hot chocolate
- – 2 – 3 coffee mixes (coffee, creamer, sugar)
- – 1 Clif, Balance, etc…
- – 2 oz peanuts, cashews, almonds, etc…
- – 2 oz Goldfish, sesame sticks, pretzels, etc…
- – 1 Mountain House dinner (or perhaps 2 salmon packets, some aluminum foil and spices, if campfires are permitted)
- – 64 oz worth of CytoMax or Gatorade mix
- – 1 or 2 pieces of some type of hard candy
- – Always the extra Cliff or granola bar that doesn’t get eaten
In the top pocket:
- – Paper maps
- – Lighter
- – Cigarettes
- – Spoon, Lexan/plastic
- – Couple spare zip-loc bags
- – TP
- – Keys and wallet (in zippered slash pocket)
In the hip belt pockets:
- – Ride snack (energy bar)
- – Super Glue
- – Swiss Army knife
- – 2 AA NiMH batteries
- – 2 Chamois Butt’r packets
In the outside stretch pocket:
- – 1 pair water/camp shoe-slippers (my 1 creature comfort item – 1 lb 4 oz!)
- – Plastic groundsheet
- – Sometimes I’ll just put the coffee cup out here.
Clipped on to the shoulder strap:
- – 1 piece of crap, 9.5 oz HP digital camera and case (suggestions for a good, lightweight point-n-shoot?)
Excluding the bike itself (high 25 lb), initial trail weights are:
2 day/1 night with water in frame bags 27.5 lb / without water 21.5 lb
3 day/2 night with water in frame bags 30 lb / without water 24 lb
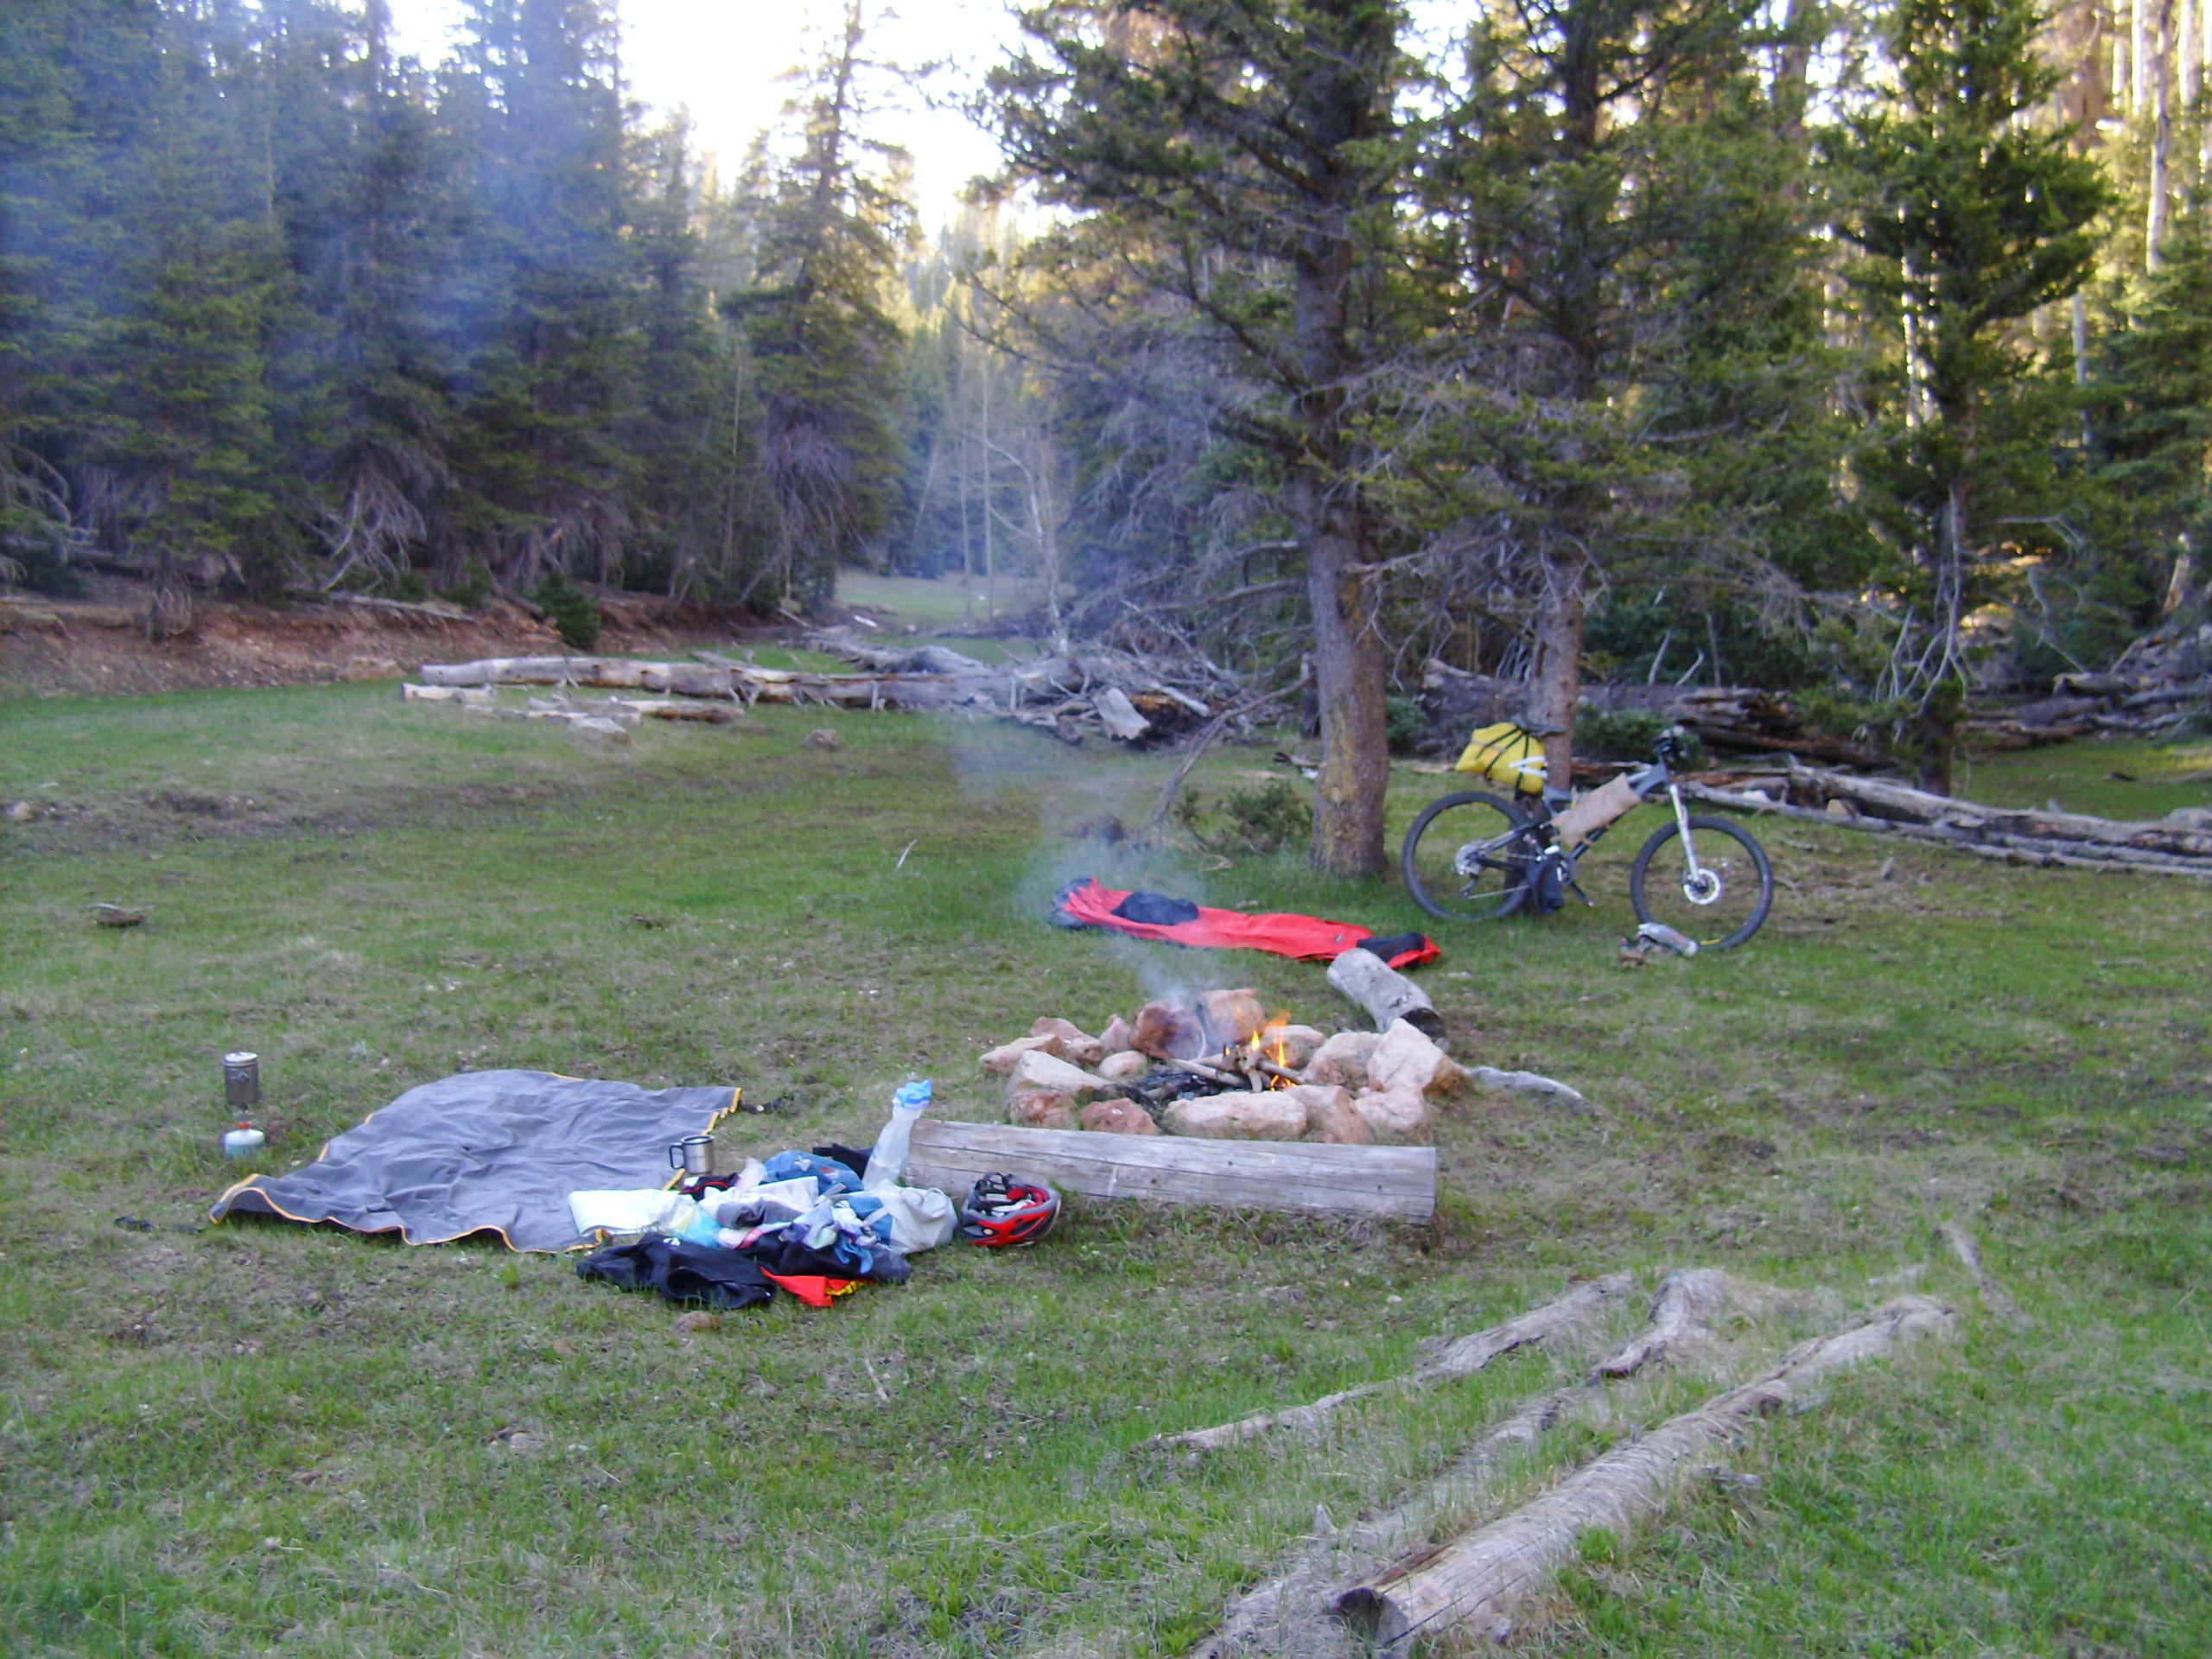
Camp above Sourdough Well - Kaibab Plateau Trail/AZT - Kaibab NF
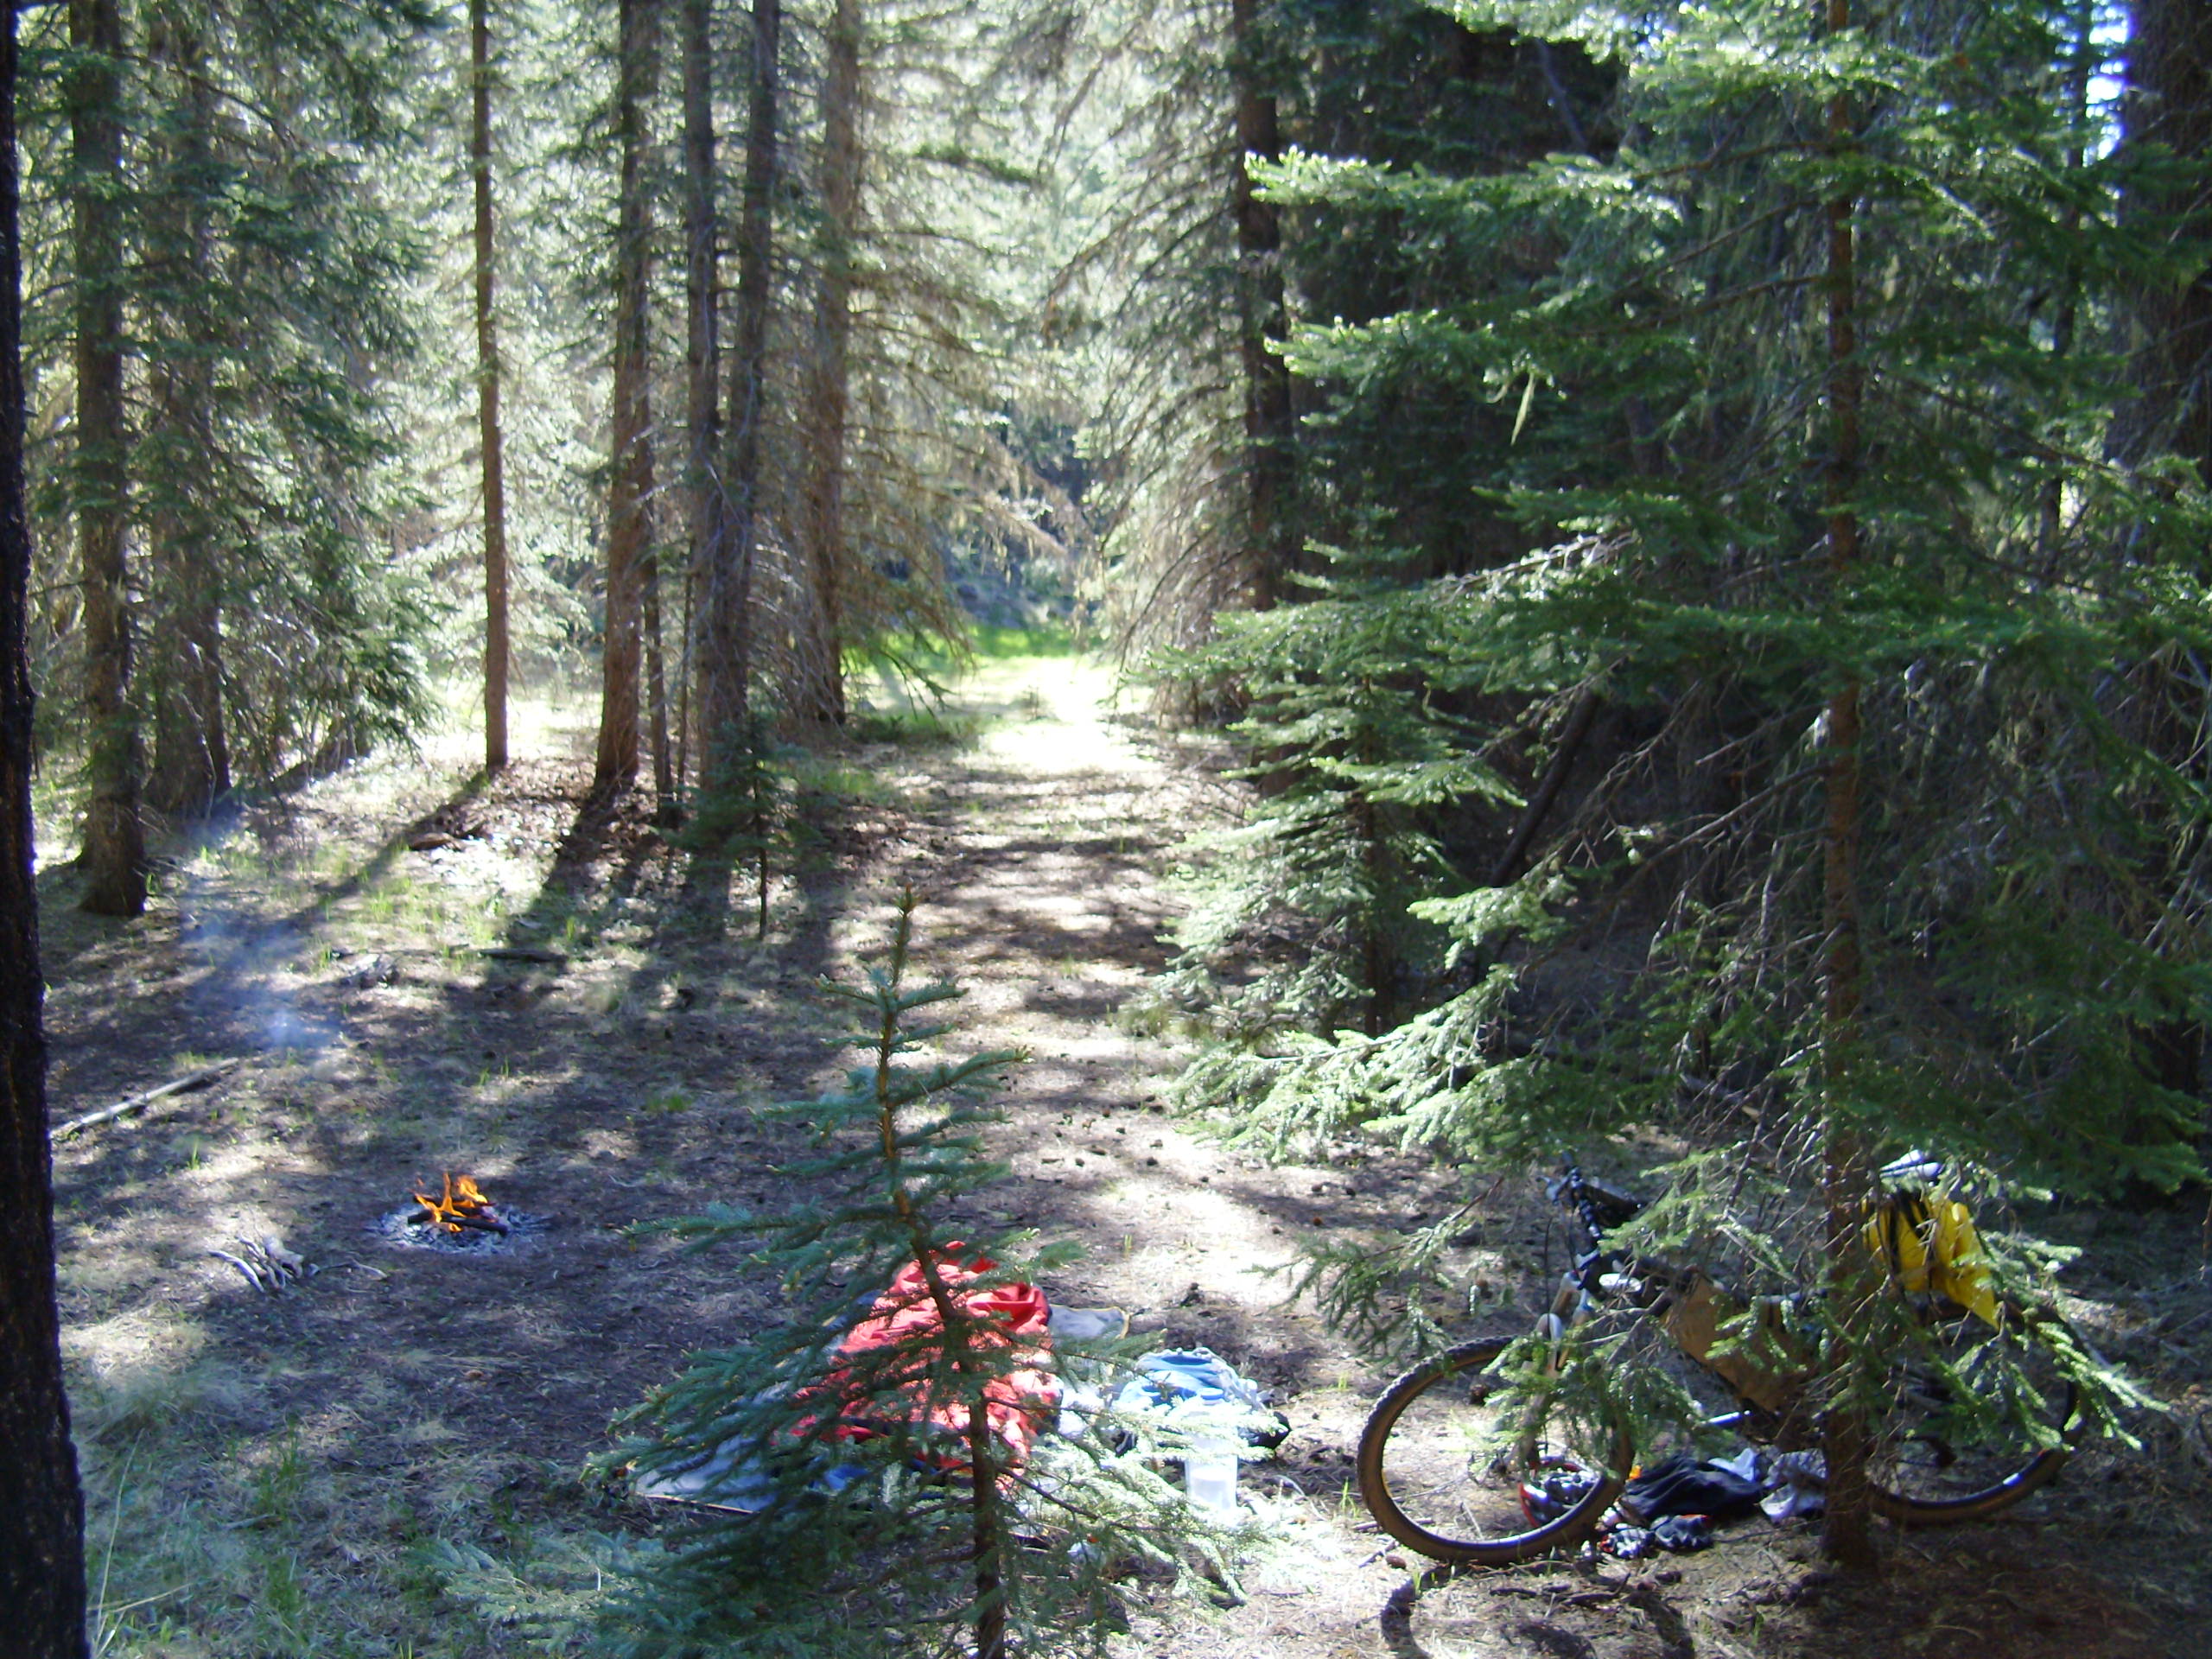
Camp off of Indian Spring Trail - Apache-Sitgreaves NF
It’s not yet an ultralight racing setup, but a good light setup that keeps me comfortable exploring and camping for the weekend. Still plenty of room to add in the Marmot Precip jacket and pants for rain season. And, I’ll be making a lightweight shelter (small-scale prototype performed well) for use with the bivy to provide dry coverage, storage and working space.
As for things to change, I want to get this all to work with something like a 700ci Talon 11. Without the sleeping pad, which can easily be worked into the seat pack, I can almost fit it all into my older and smaller version Camelbak HAWG, my normal trail riding pack. It will be!
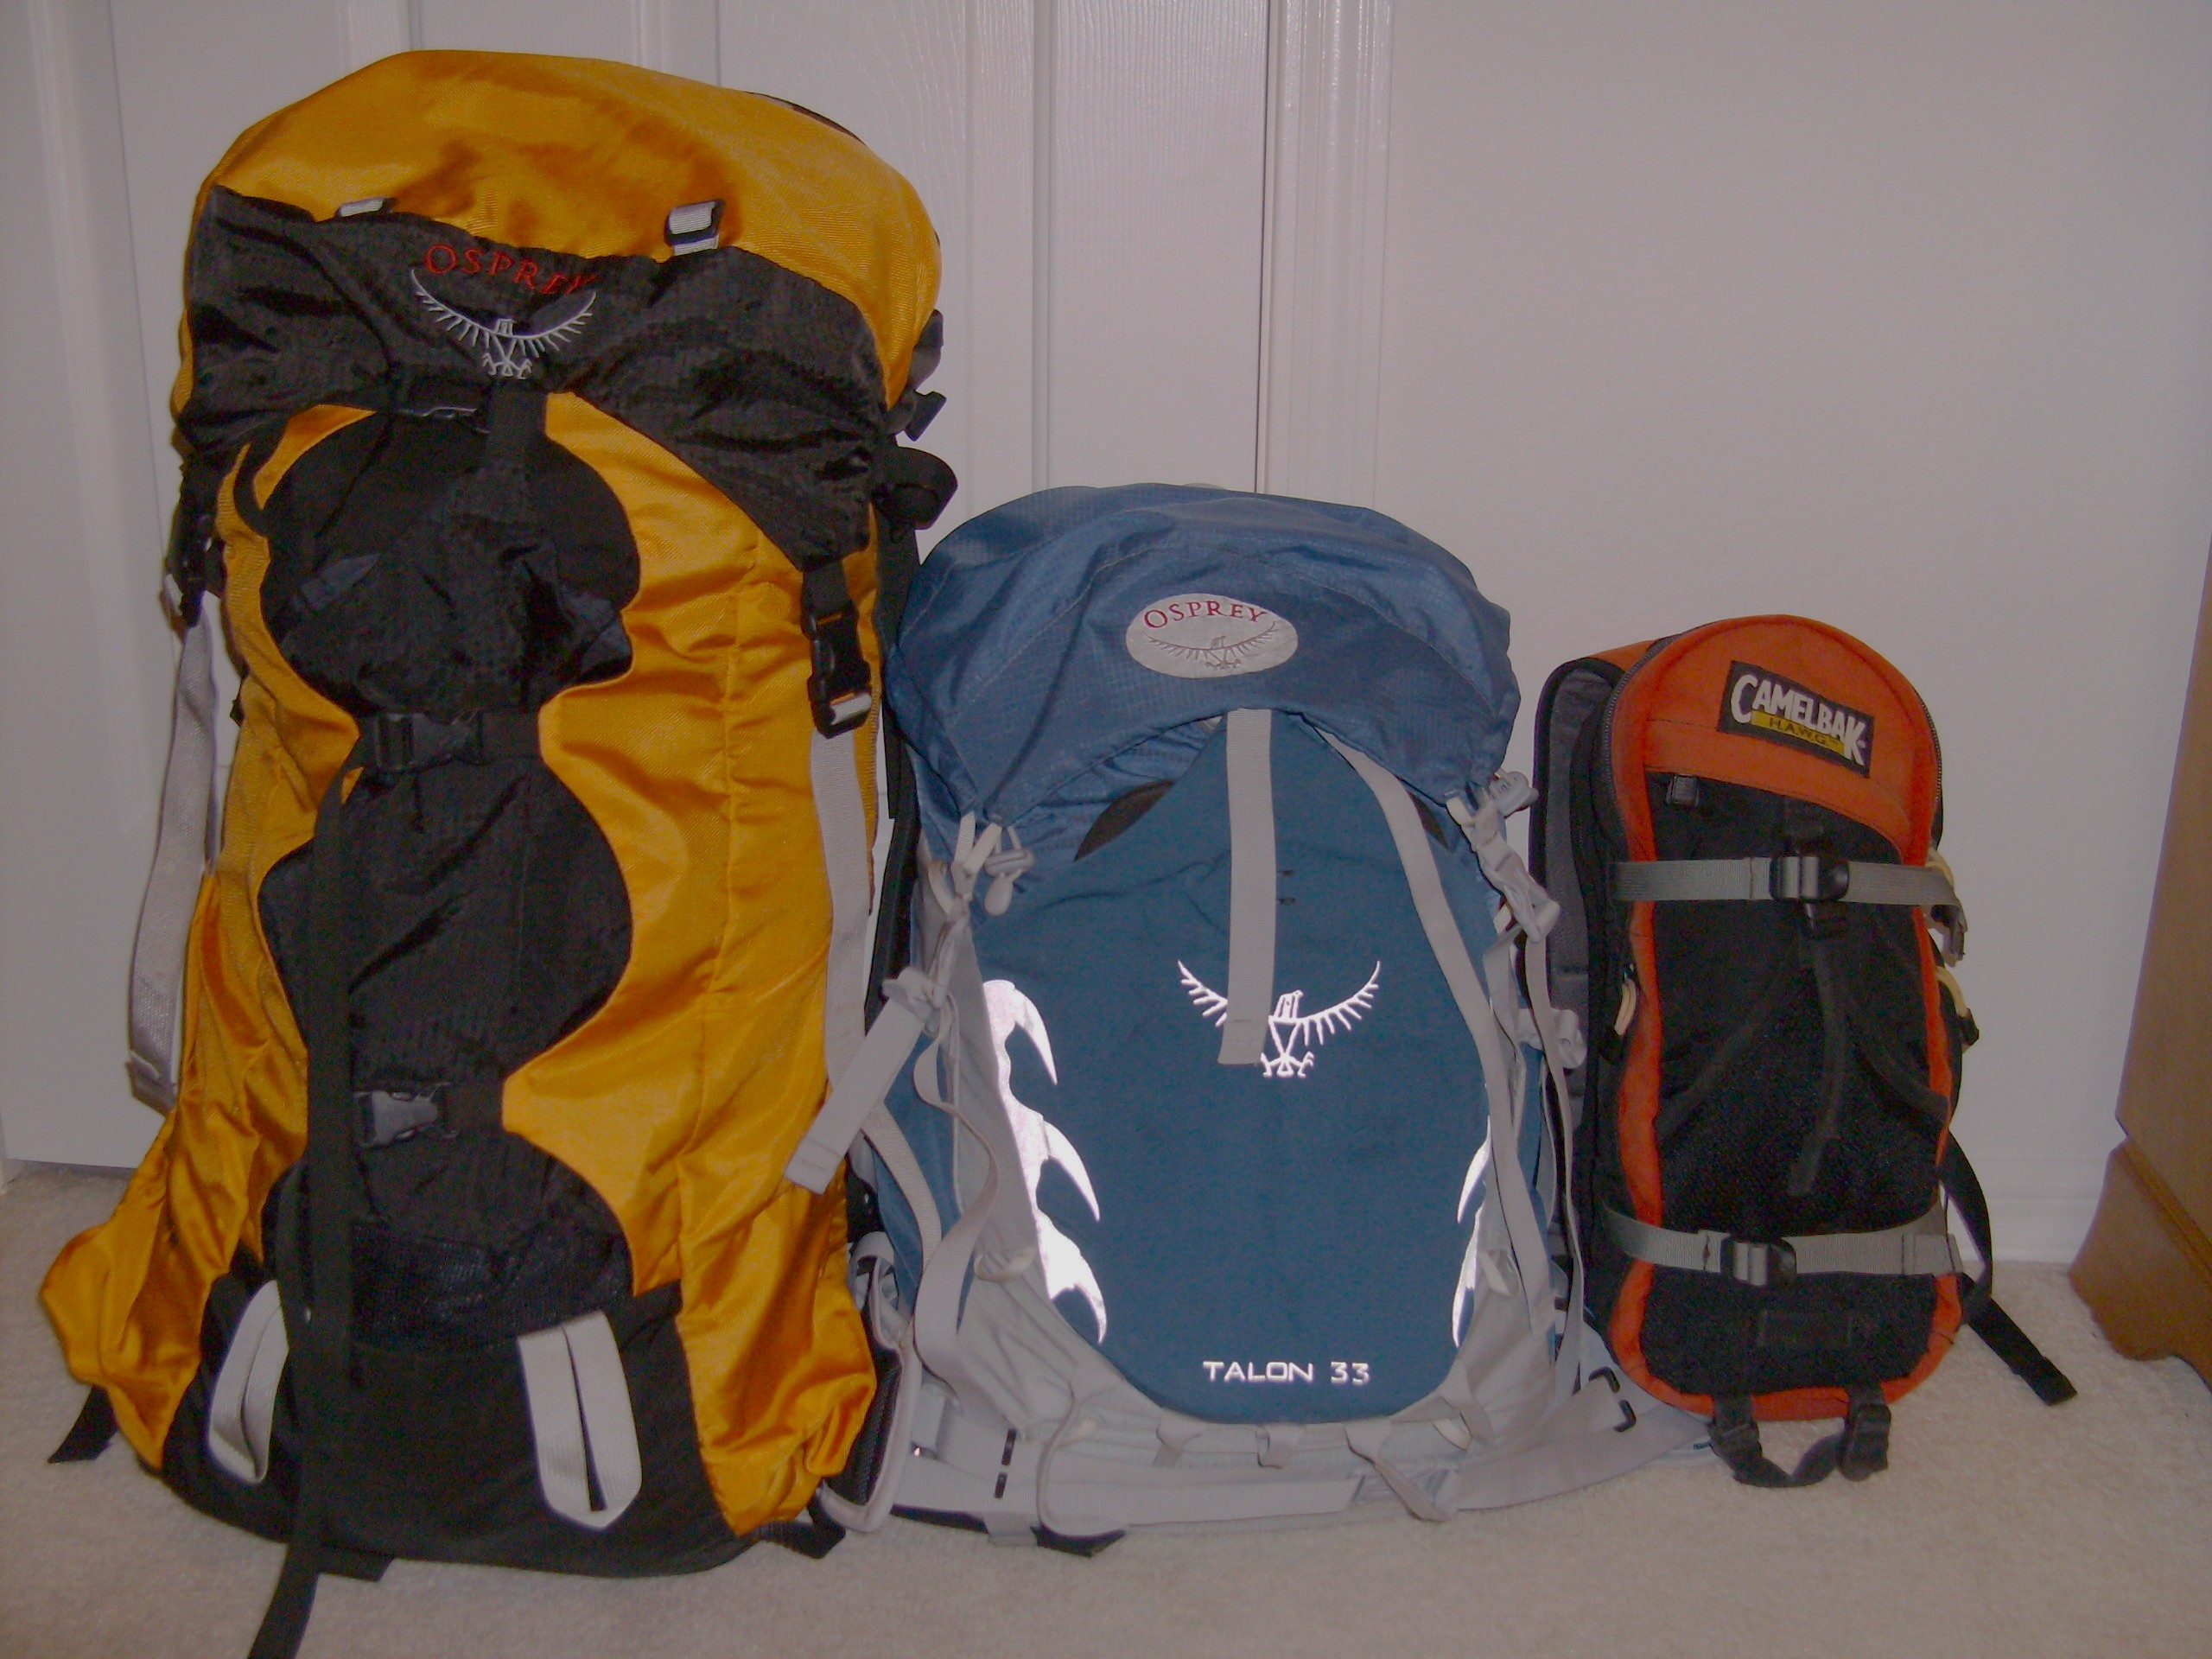
Evolution - What Was (not on the bike), What Is, What Will Be.
Now, for weight reductions (some ultralight and racing ideas here):
- – A 3-8 oz replacement for the aqua socks. Just some neoprene slippers at 2 or 3 oz? Gotta take care of the feet, they suffer enough during the day!
- – Replace the BA pad with a Neo Air, when they make a shaped (think ProLite) regular version – short (heels) or thin (hip) pads don’t work for me.
- – As the weather gets even warmer, test out an Adventure Medical Emergency Bivy as a replacement sleeping bag. For now, I still want the enclosure of the real bivy too, though. I do live and ride in the desert Southwest.
- – Go kitchen/stoveless. I’ll be trying some of the Esbit solid fuel tablets with a sierra cup. Lose the fuel canister, stove and cooking pot.
- – Just stank a bit more. Meaning lose the extra ride clothes. Maybe one extra pair of socks and shorts for a 3 day trek, otherwise, forget ’em.
- – A better, lighter camera.
Put all those together and that’s about 6 or 6.5 lbs of weight loss still to go!
Yah, I’m hooked… and All In!
And you should be too!
Now go make your packs!
Hell yeah! Functional like a dime store hooker baby….roll on kid!
Sanne(2.5yrs old) says: ‘I want to camp there’
[…] bikepacking.net > > Just something I sti! tched together […]
Wonderful! I am frugal as well and about as handy with a sewing machine. I think I am going to try this myself over the next few weeks. Thanks for sharing!
Love your tent choice. Any one else want one? Click my name!
Useful article, thanks for sharing!