Personal setups » 2011 Kit – DIY Frame Bag
I am a newbie on this site and having just finished making my first custom frame bag (sourced a lot of the info from this forum) so I thought I’d post the results with some further instructions and things I learned during my fight with a sewing machine.
First off, shout out to Justin. His step by step instructions were the starting point for this project. http://bikepathwarrior.blogspot.com/2010/02/how-to-build-bicycle-frame-bag.htm
I did the template on poster board as many have suggested. Worked like a charm. Ordered 2 yards of white widow spectra ripstop. In retrospect, 1 yard would have been plenty, but I will use the left overs to make some extra strong gaiters and some rain covers. The fabric is very flexible, waterPROOF and very light. I used polyester upholstery thread for the stitching. It’s amazing. I tried to pull it apart with my hands to no avail. It is, however, really tough on the machine. Go slow with the stitch, otherwise you will get your needle stuck or broken.
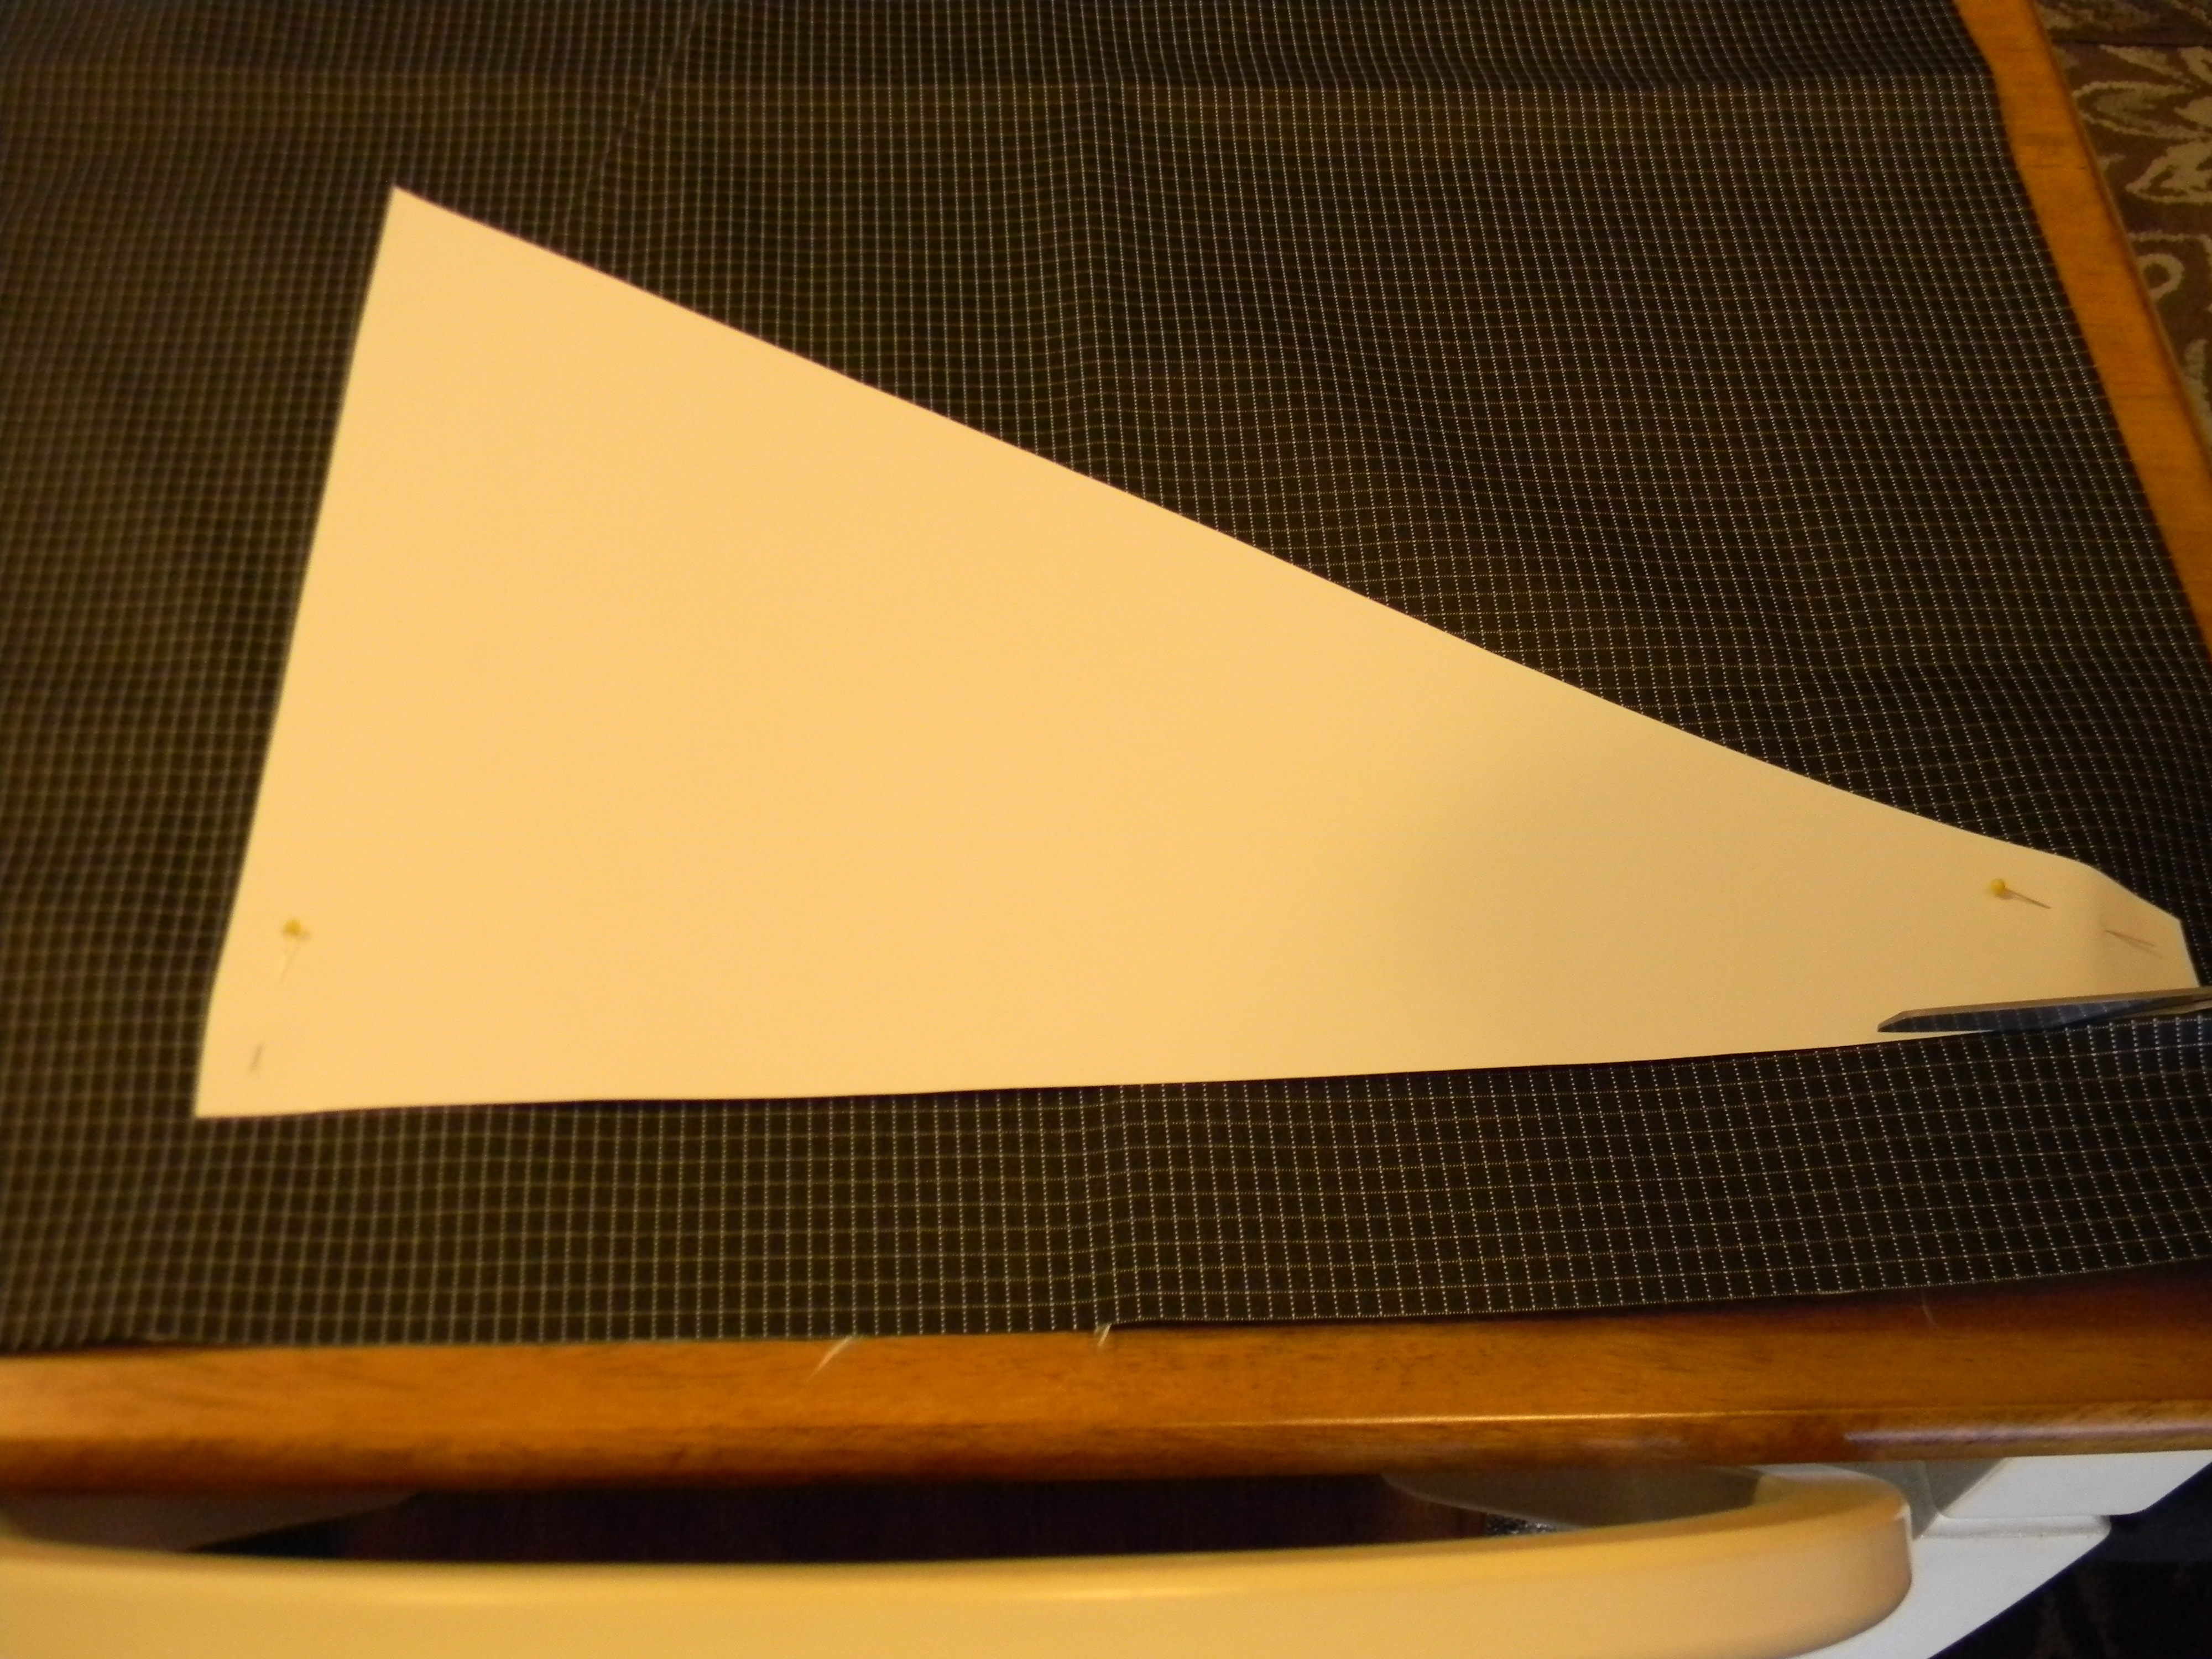
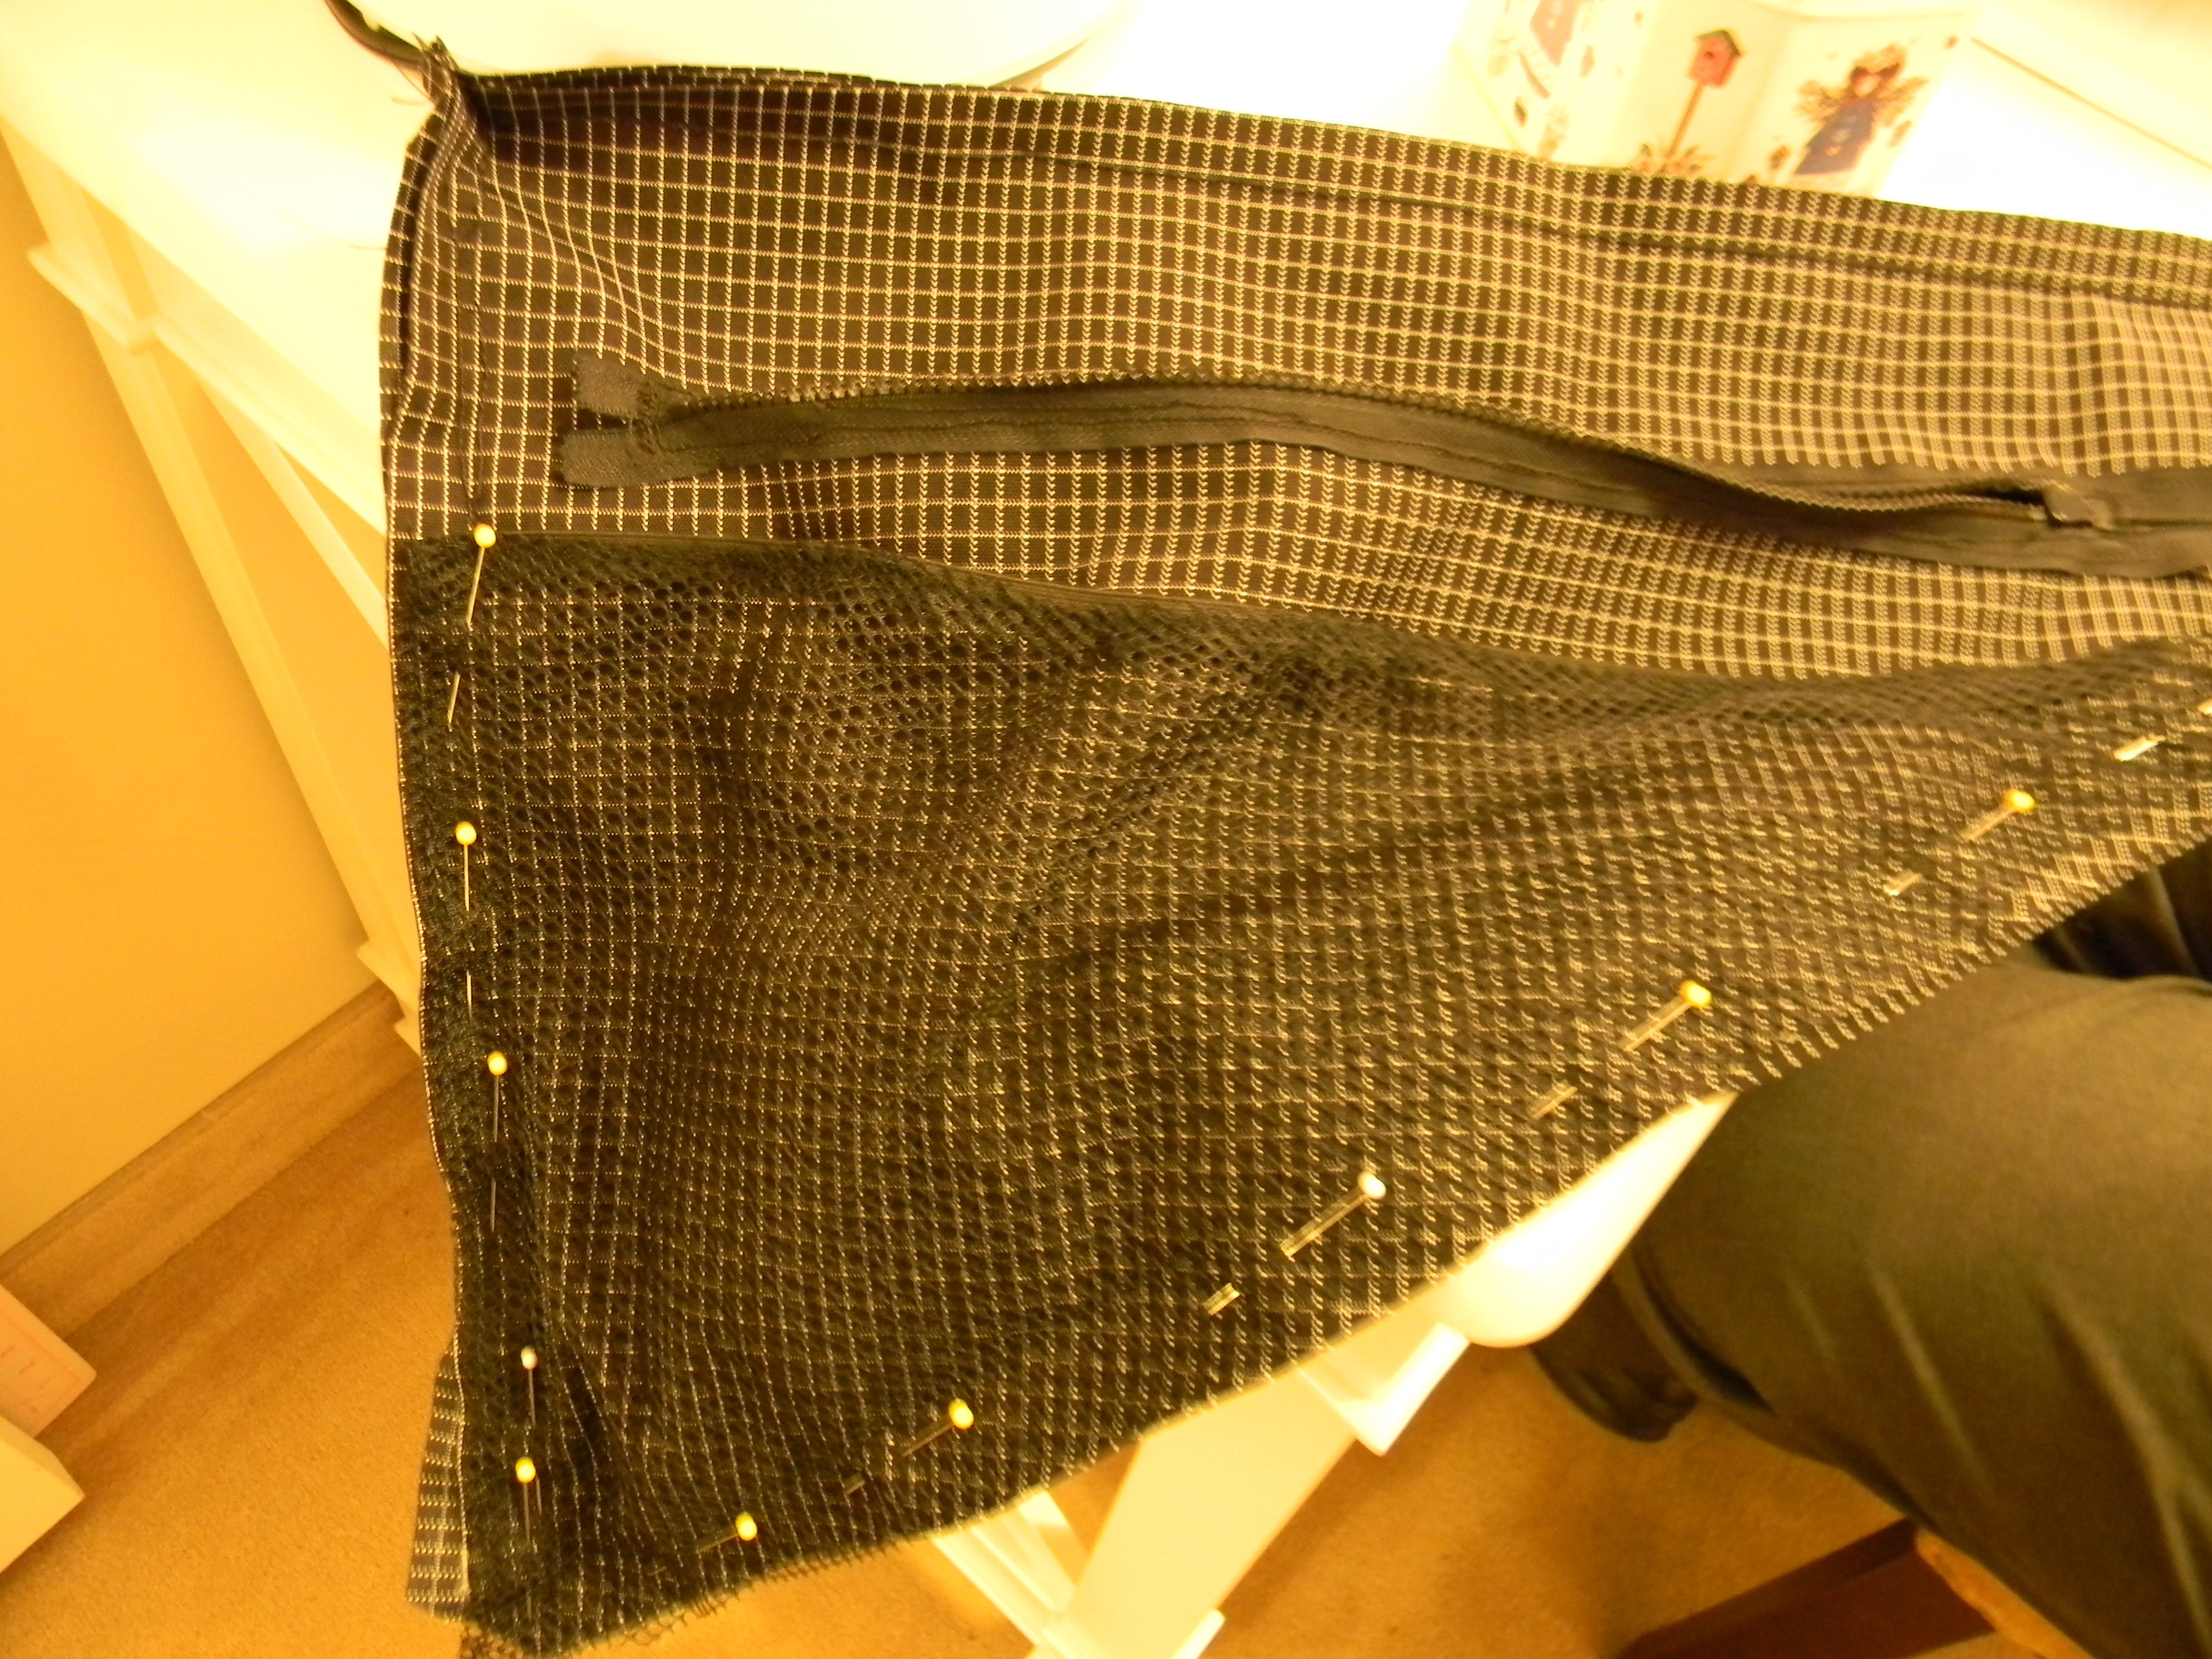
First I cut out the panels and then added the zipper.
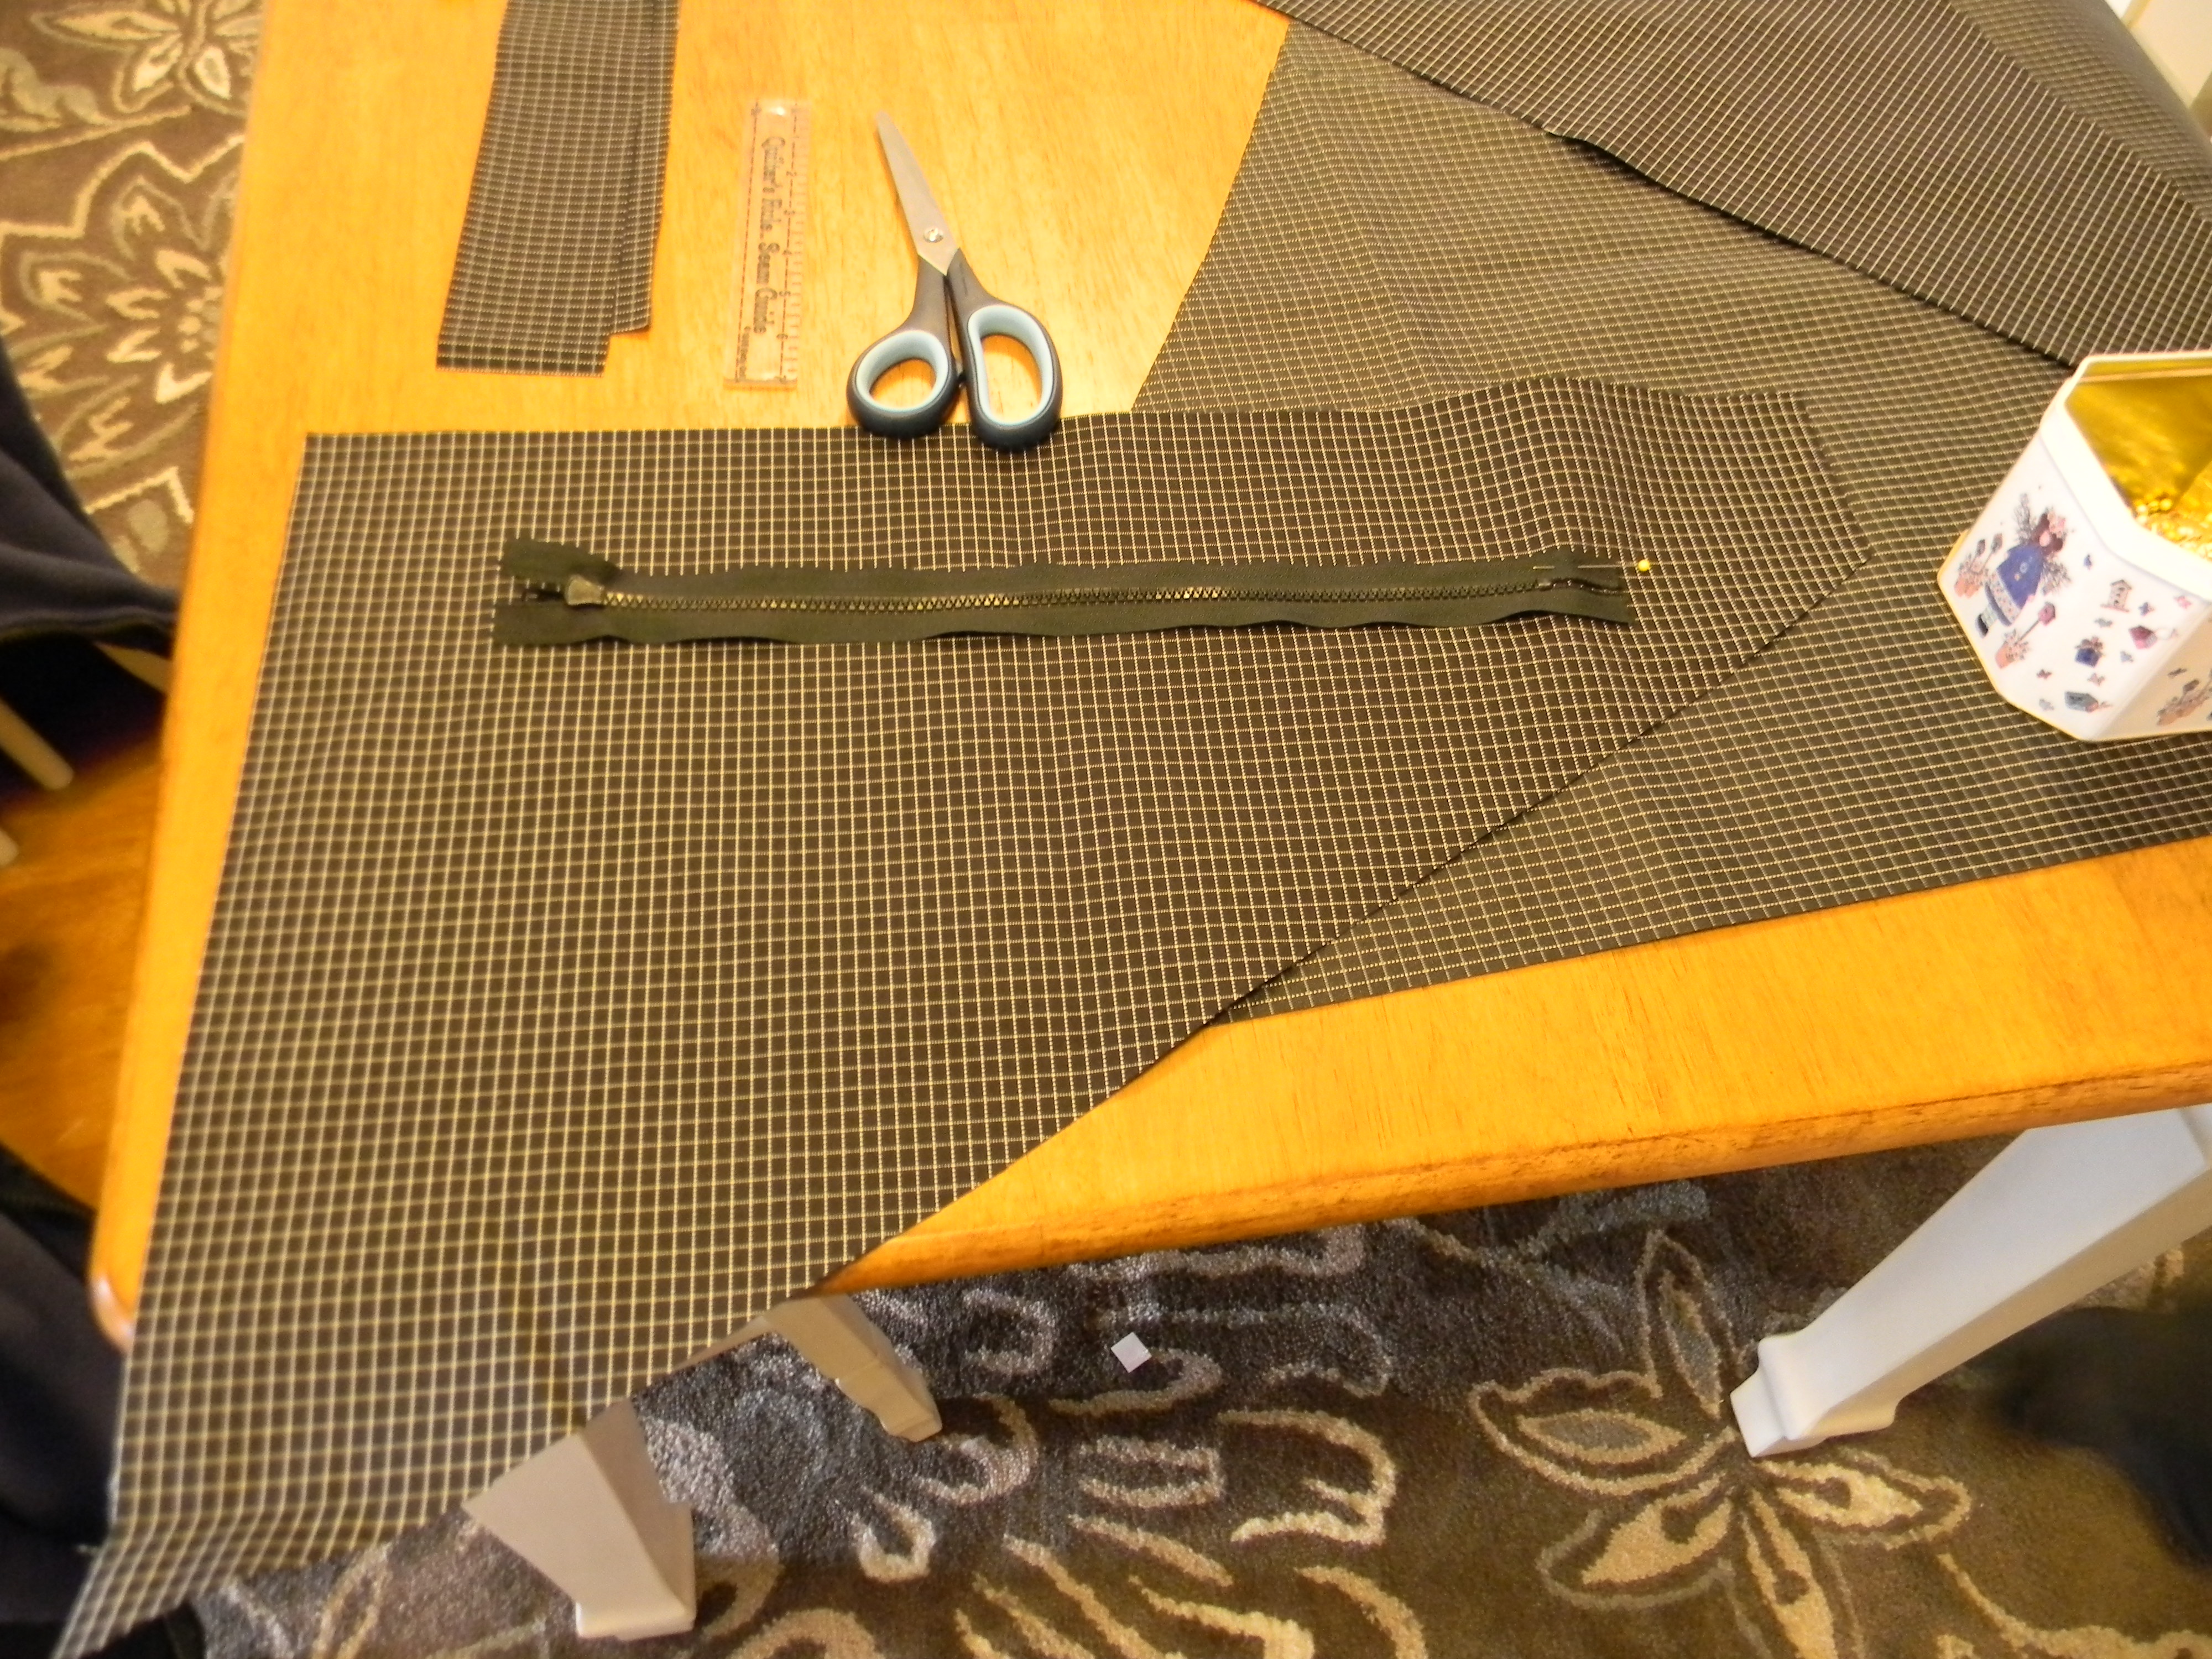
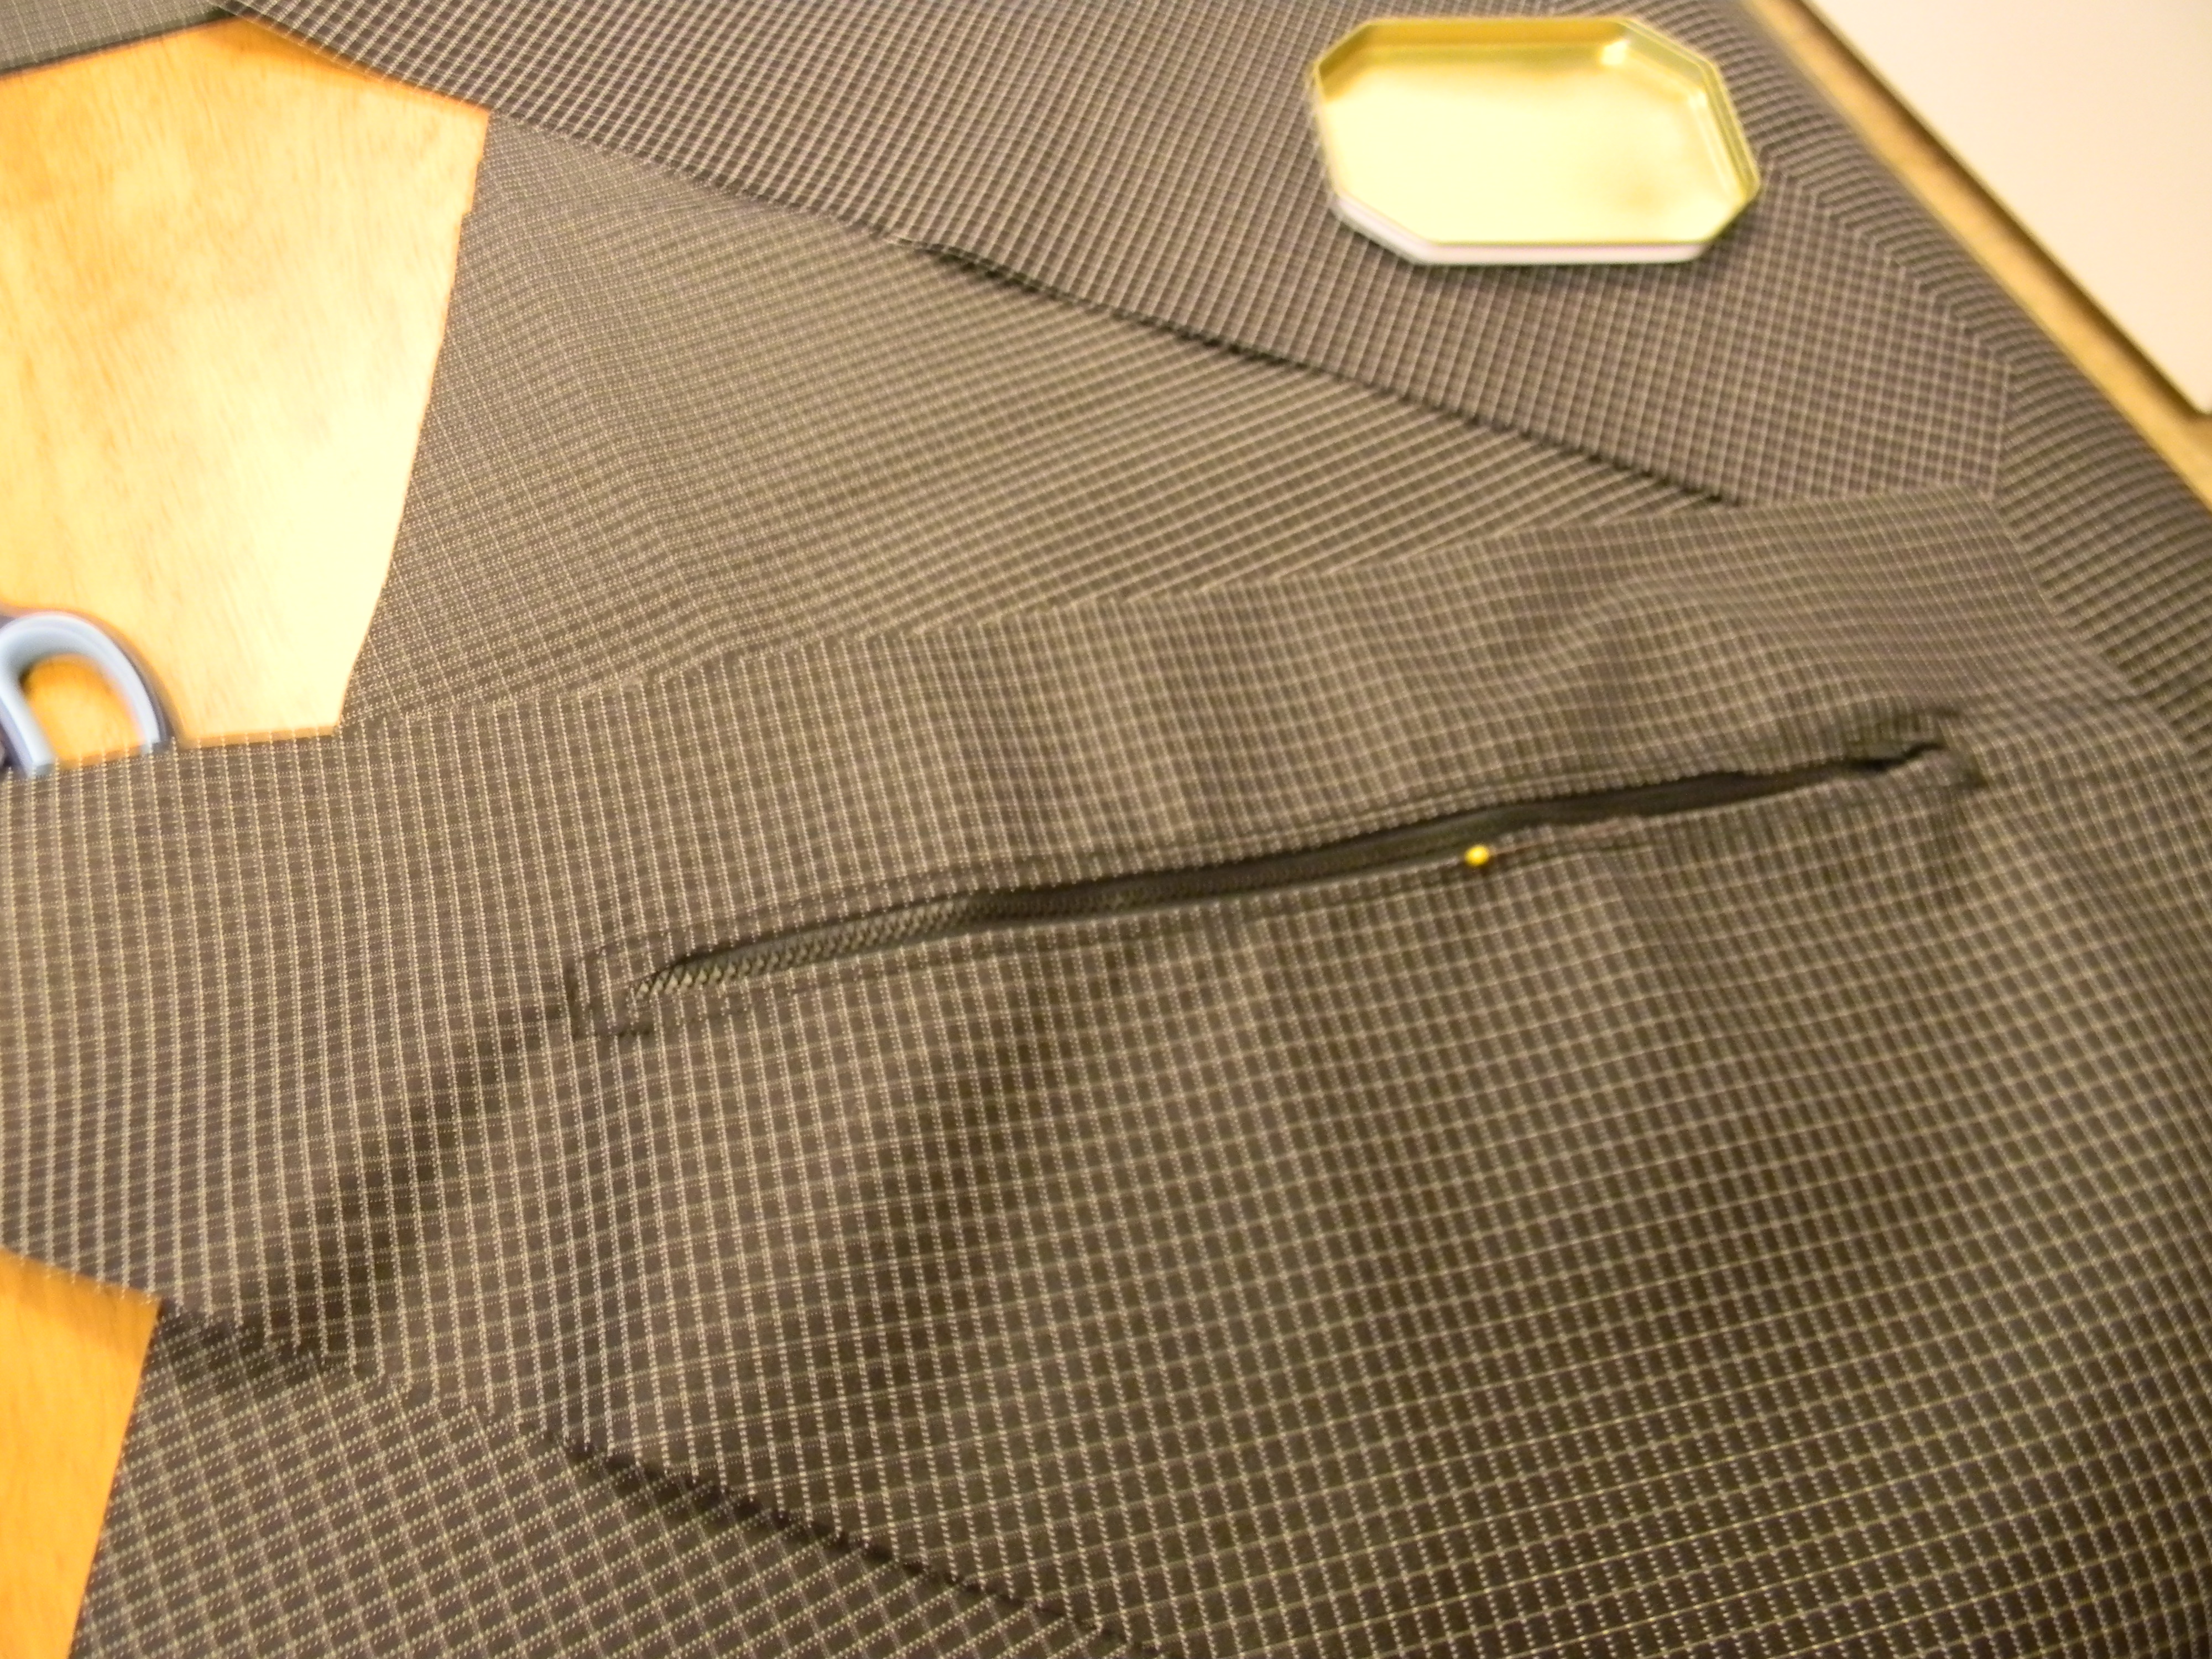
Cut the opening for the zipper, pinch back the fabric and sew the cut down. I used a zig-zag stitch sized to cover the whole are between the zippers outter stich and the edge of the folded under fabric. Huge pain because this fabric is thick. Not cordura thick, but still…more than a standard sewing machine “likes” to handle.
Notice the pin below? Like i said, the thickness of the fabric meant it wasn’t perfect and i had to do touch ups by hand.
So I modified the bag to include an internal pocket. I made it from a left over mesh “soccer ball bag.” I cut the mesh into a triangle to fit on the inside of the bag, added a strip of elastic to the top and used the excess material from the seems (which you cut last) to sew the pocket in.
The side panels are 2.75 inches.
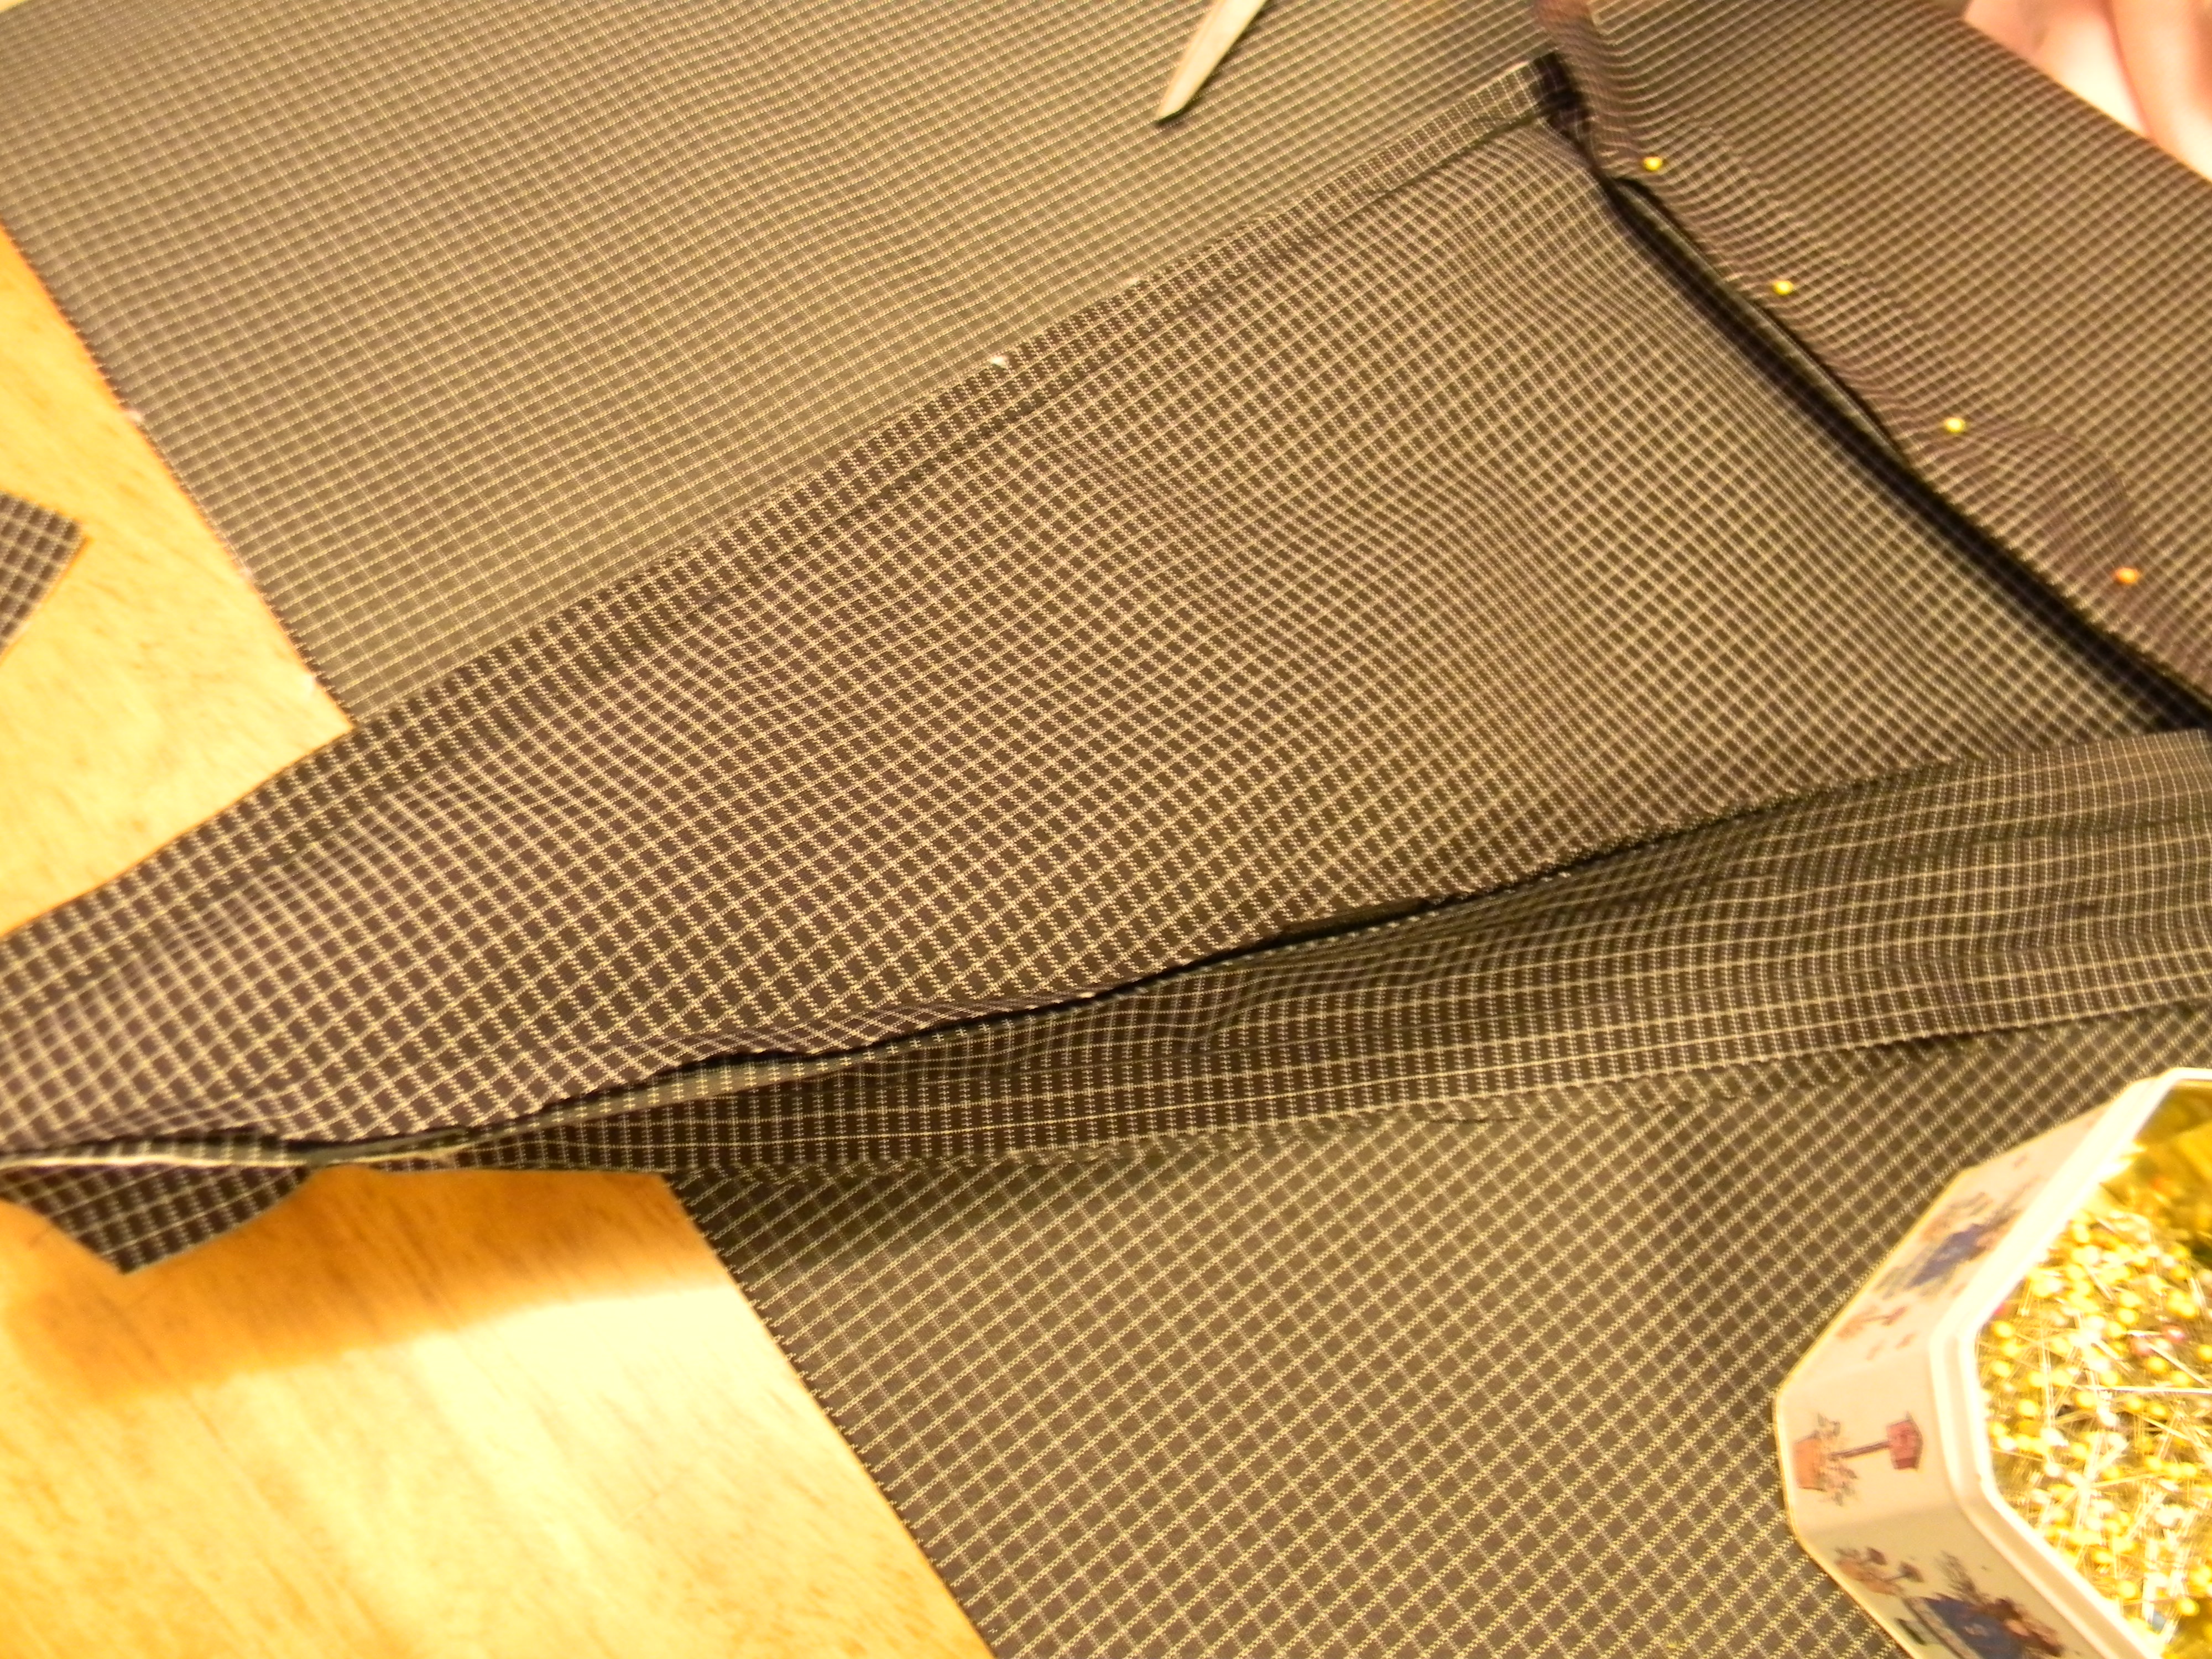
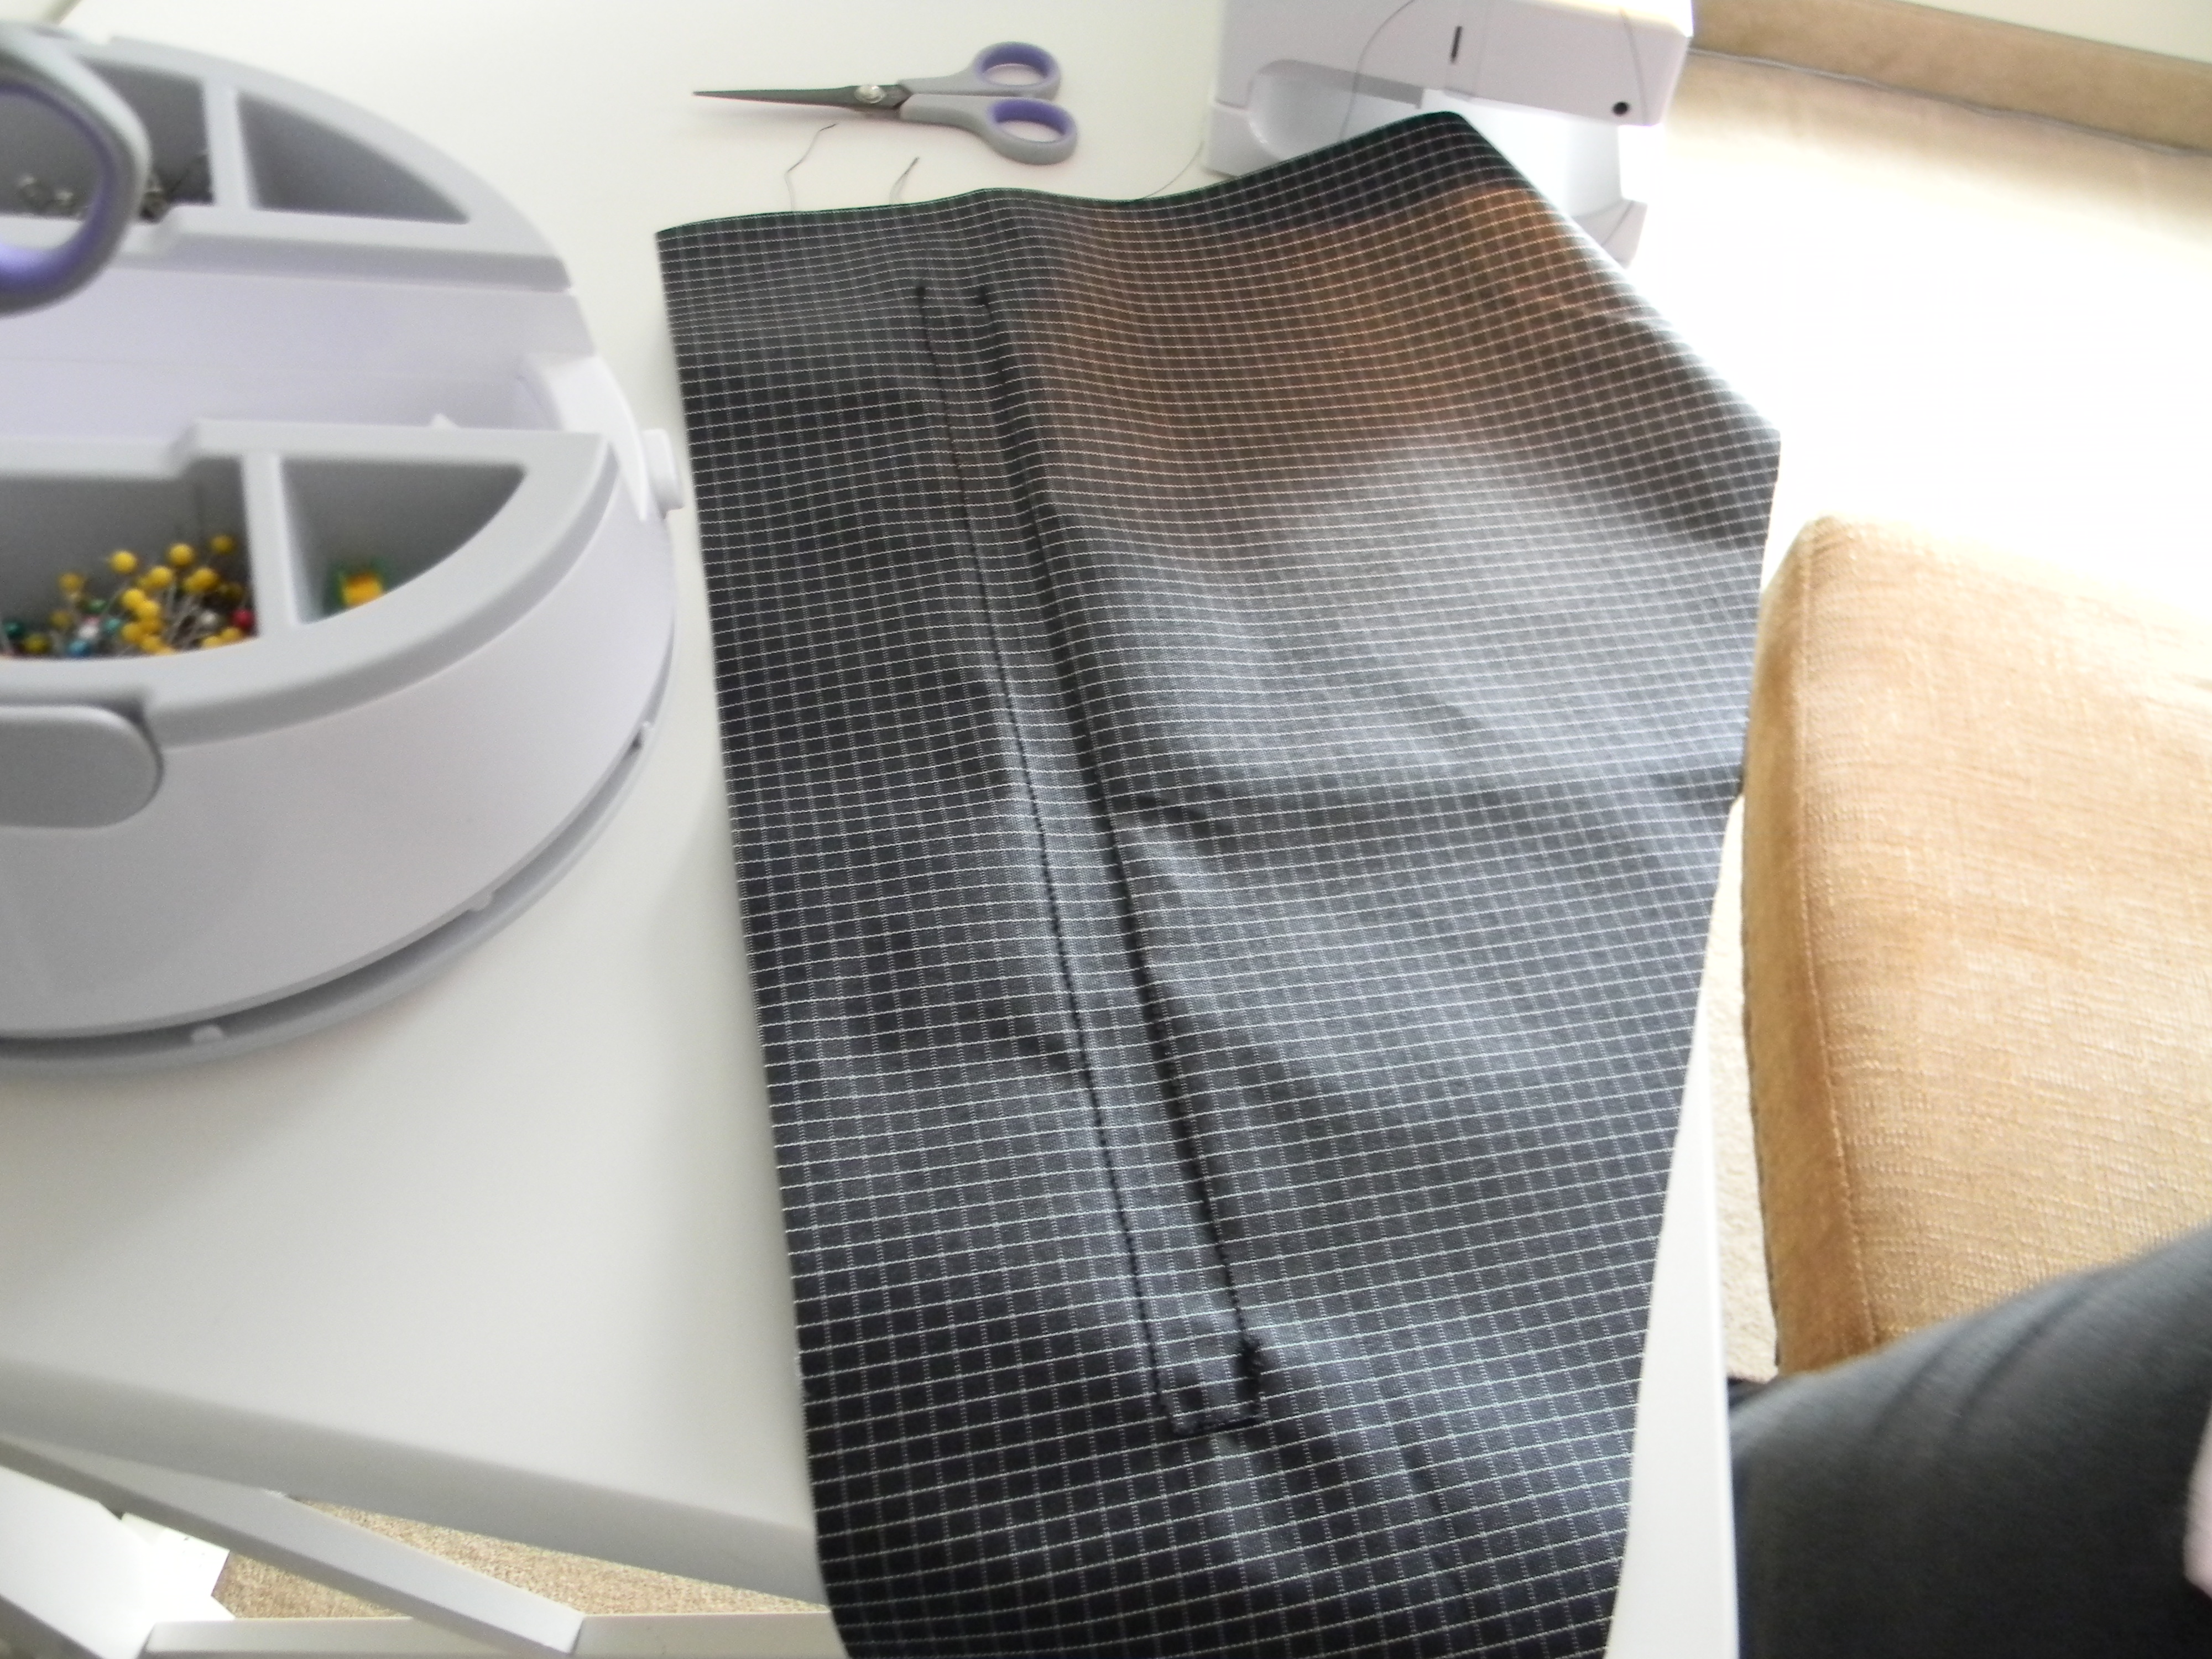
Next I sewed all the seems. I pined in the Velcro straps between the panels so i could sew it in the seam as well. I had seen some bags done with the Velcro straps on the outside and thought it would be stronger and better looking to put it up in the seems. Just back over it a few extra passes on the machine to give it some extra strength. For the top tube I added to pieces of fabric to which I sewed Velcro the entire way across it. I sewed it in the same as the straps. With the top panel seams. It feels really secure on the top tube. I also added a Velcro strap to the front tube to prevent it from sliding back. That was the hardest part besides the zipper, but it really secures the bag laterally
After the seems are finished (the bag will be inside out) pull the bag out through the zipper and test the size.
Finished! 4.5 hours. $38.00 in materials.
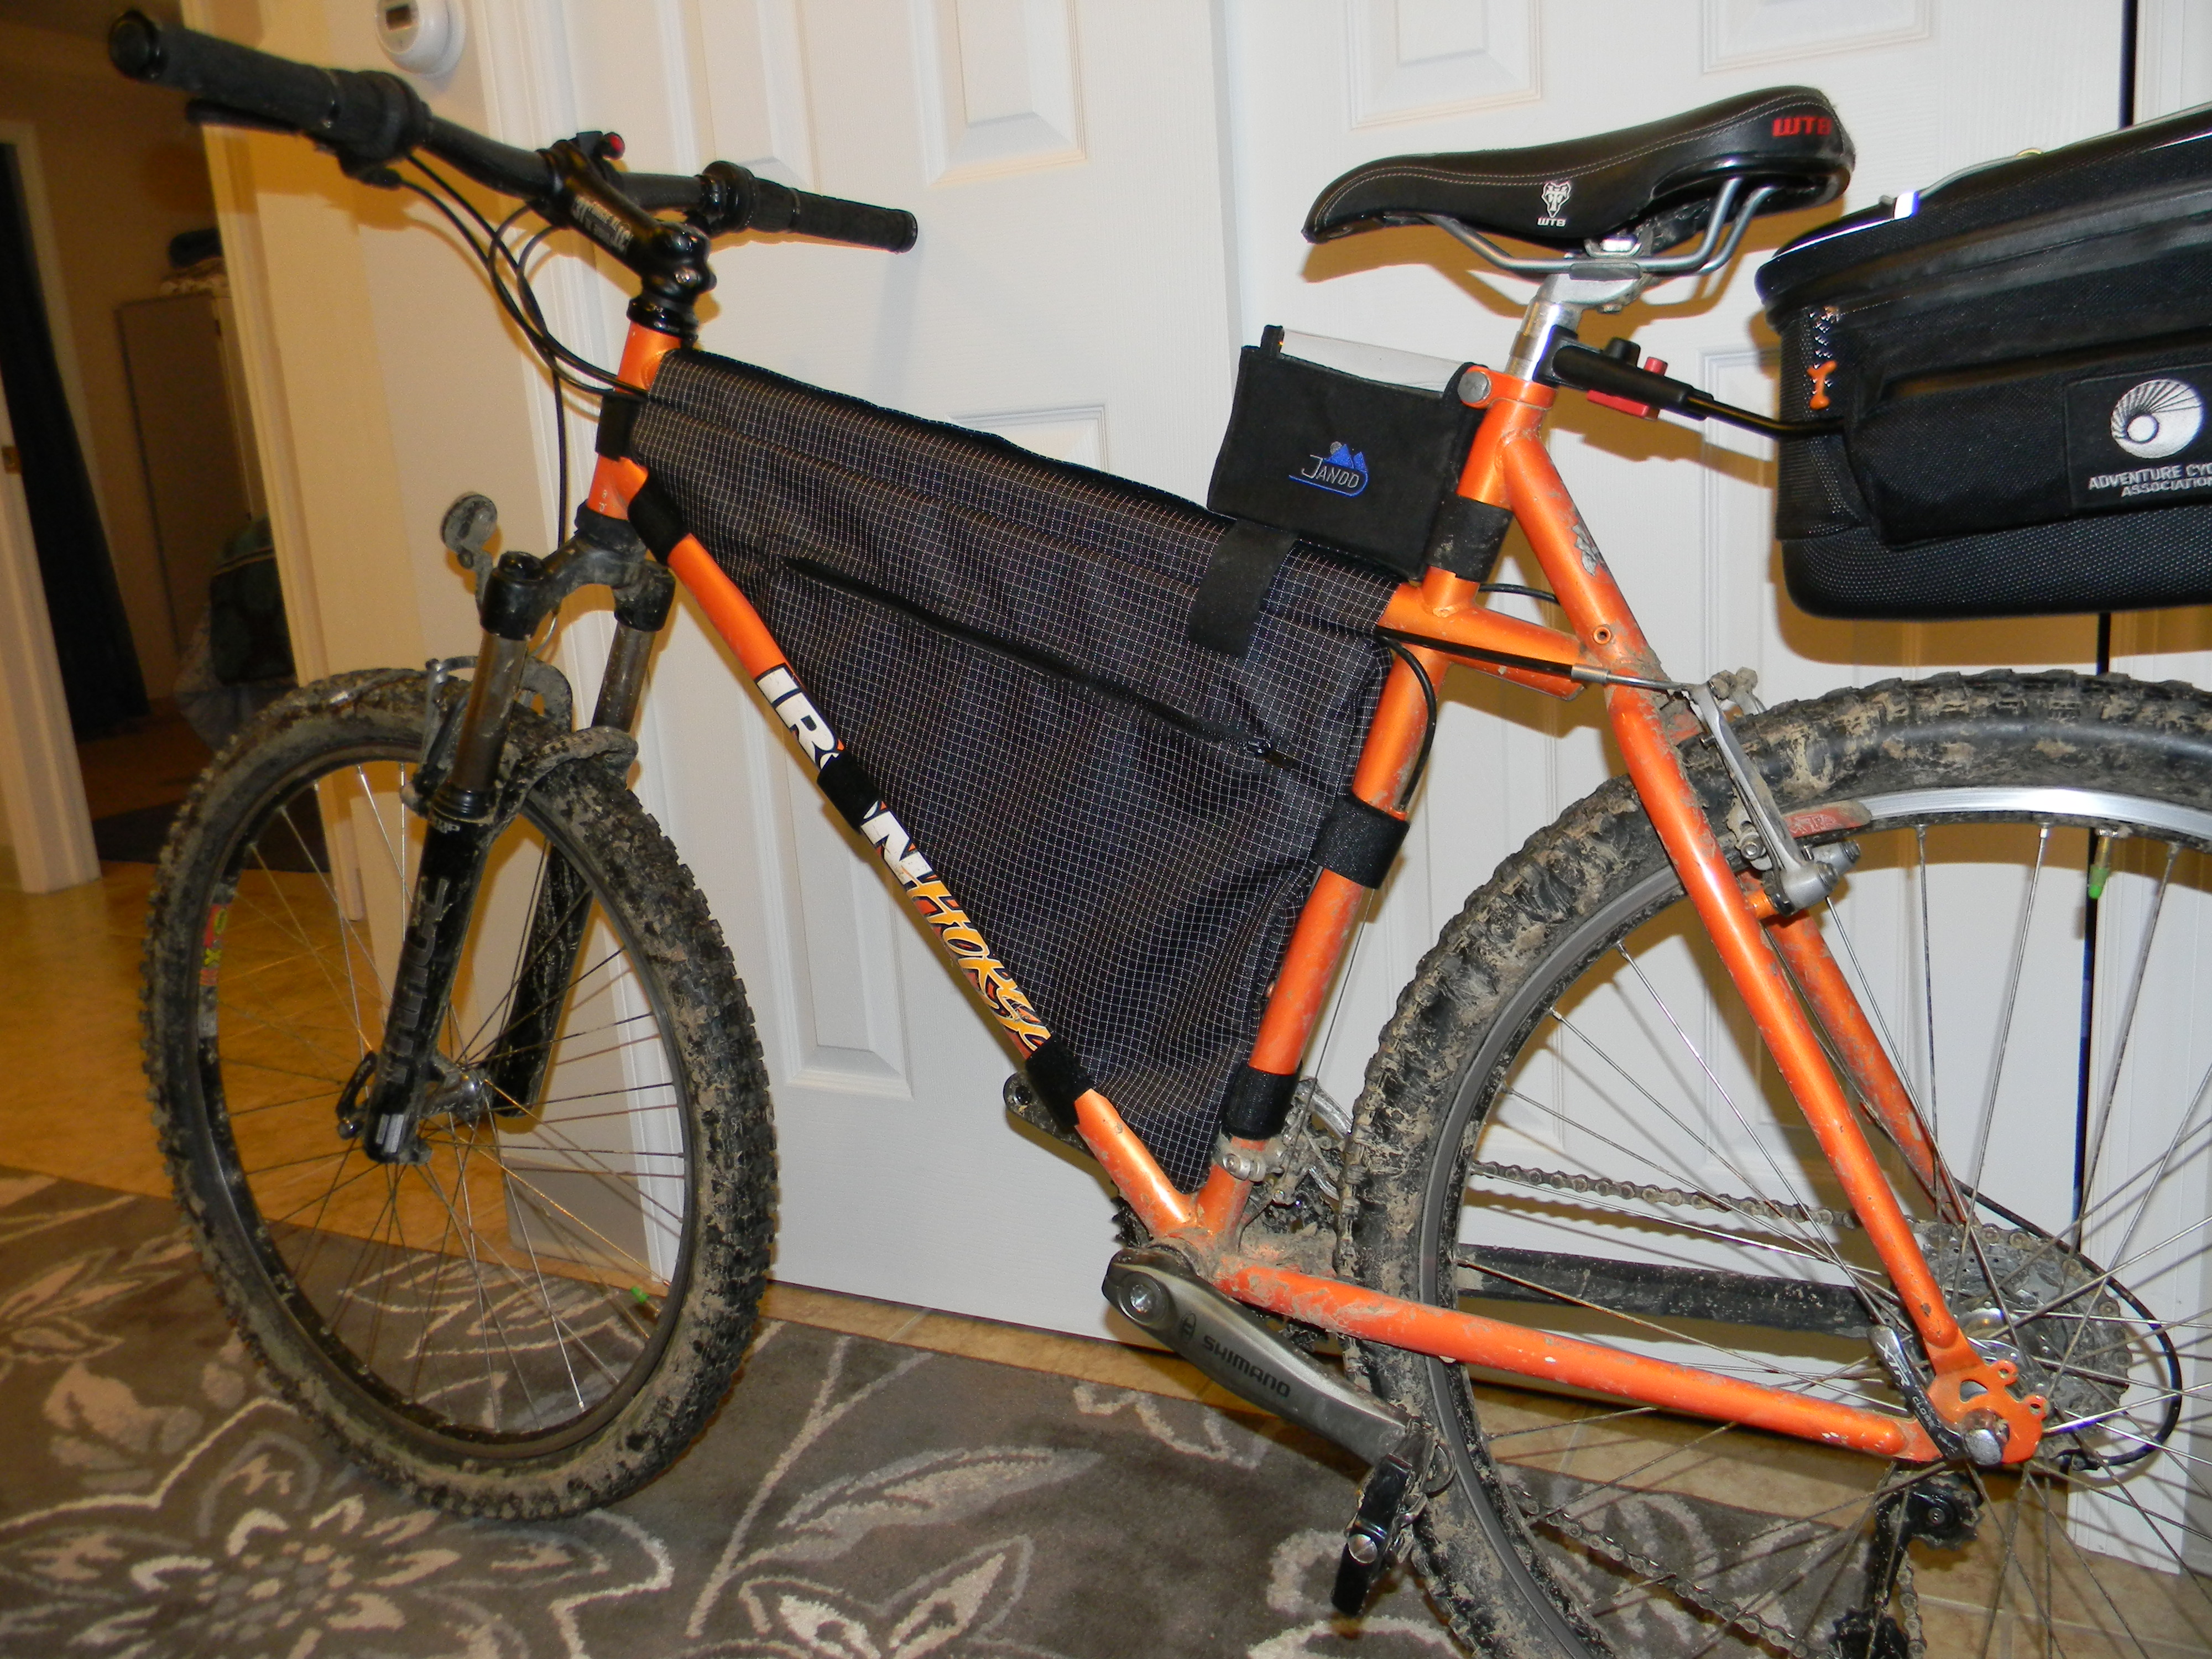
Custom frame bag for my old Iron Horse hardtail. Took it out this morning in a steady rain for about 2 hours. Crossed 3 larger streams. Stayed dry inside! I didn’t 😉
Cool! I’ve sewn gear for a long time and that’s how it’s done.
I’ve been thinking about doing this, so I should just go do it.
Tough coated fabric is hard to work with on a household machine. More bobbin tension, a denim or leather needle, 46 bonded milspec nylon thread and/or a bit of silicone dry lube on the thread might help. Also, dress the slightest burr on the hook (the sharp point on the bobbin house that hooks across the needle hole and picks up the thread) with some 400 grit emery paper.
Happy trails, Ken :^)
Im going to sound like a a hole but first i want to say you did awesome on that bag second i kinda always thought it was gay for men to sew and i failed my 8th grade home eck class haha you did good though i have an idea take a skateboard back pack it has to have the skateboard carrier to have any purpose anyway the skateboard straps go horazontal u strap them to the top tube and the ya got a good bag with some great storage space those kind of book bags dont cost much and are made of very durable materials trust me i have been skateboarding for over 10 years and yes i know thats a very very weird combonation as im an very very very dedicated skateboarder and mtn bike racer
I have been skating since about 1990 – it’s not a weird combo at all. The bag width isn’t an issue rubbing your legs?
thanks for the comment. And to answer your question i havent had any problems with leg clearance i cant wait to try it on a trip im doing next month, It isnt perfect but its not like the bag is completly restricting movement and i can live with that since I have a min wage job and cant afford a 200 + dollar bag
you can also mount it on other parts of the bike like the handlebars and then strap your sleeping bag to it
Project Runway lookout,Hedi Klum would be proud.Great job.
[…] está empezando a fabricar sus propias frame bags a la medida de sus bicicletas, como por ejemplo aquí y aquí . Así que ya sabéis, ¡A desempolvar la máquina de […]
[…] Check out Justin’s framebag project and Scotty’s bag. […]
[…] está empezando a fabricar sus propias frame bags a la medida de sus bicicletas, como por ejemplo aquí y aquí . Así que ya saben, ¡A desempolvar la máquina de […]
… this is very cool… saving for a new road bike – it’s white and [ocd in overdrive] I want a white frame bag and they all seem to be black or bright primary colours – yuk!… this gives me the confidence to have a go making one … thanks for the inspiration!
hey scottybeam…where do you buy your materials…fabric, zippers, velcro, etc? love to see males sew…great therapy plus very productive! nice job!….
I ordered the fabric from Seattle Fabrics. They specialize in outdoor materials. This one was great because of the carbon fiber thread throughout. 4 years a and countless trips later the bag is still going strong! It outlasted that frame and 2 others as well!
Hey Im new to bike packing and Im making my own frame bag. im not really sure how wide to make it but i want to maximize the space. What is the standard width of Frame bags? Im thinking about making mine 3″ wide on the inside does Anyone know if this will be an issue?
@Joe: it depends a lot how you do cycle, some people tend to cycle with their legs&knees a bit wide, some others (like me) thend to cycle “narrow.
For me, 6cm (2.4”) is the widest I would recommend. Keep in mind that once stuffed, those 2.4 inches would become 3; so if you start with a bag that is 3 inches wide when empty, once stuffed it will be 4 inches or more.
It also depends on your frame geometry, but I would advise to stay between 2 and 2.5 inches width.
Where did you get the fabric. I tried a google search for “white widow spectra ripstop” and only got one hit for a shop in seattle, but couldn’t find an actual product with that name
I would call Seattle Fabric. That’s where I ordered it from in 2011. Though I don’t see it on their site, but it’s still in their ripstop sample pack?